How to Make DTF Transfers (Step by Step)
The DTF process, step by step
Direct-to-film printing has three core stages: print, powder, cure. Whether it happens on a desktop conversion in a spare room or on the commercial lines in our Kentucky facility, the chemistry is the same. Here is the full sequence. (New to the method entirely? Start with what DTF printing is, then come back.)
1. Prepare and mirror the artwork
The design is set up at its final print size and flipped horizontally. DTF prints onto the film face down, so everything must be mirrored or text comes out backwards on the shirt. Transparent backgrounds stay transparent: only the ink that is printed transfers.
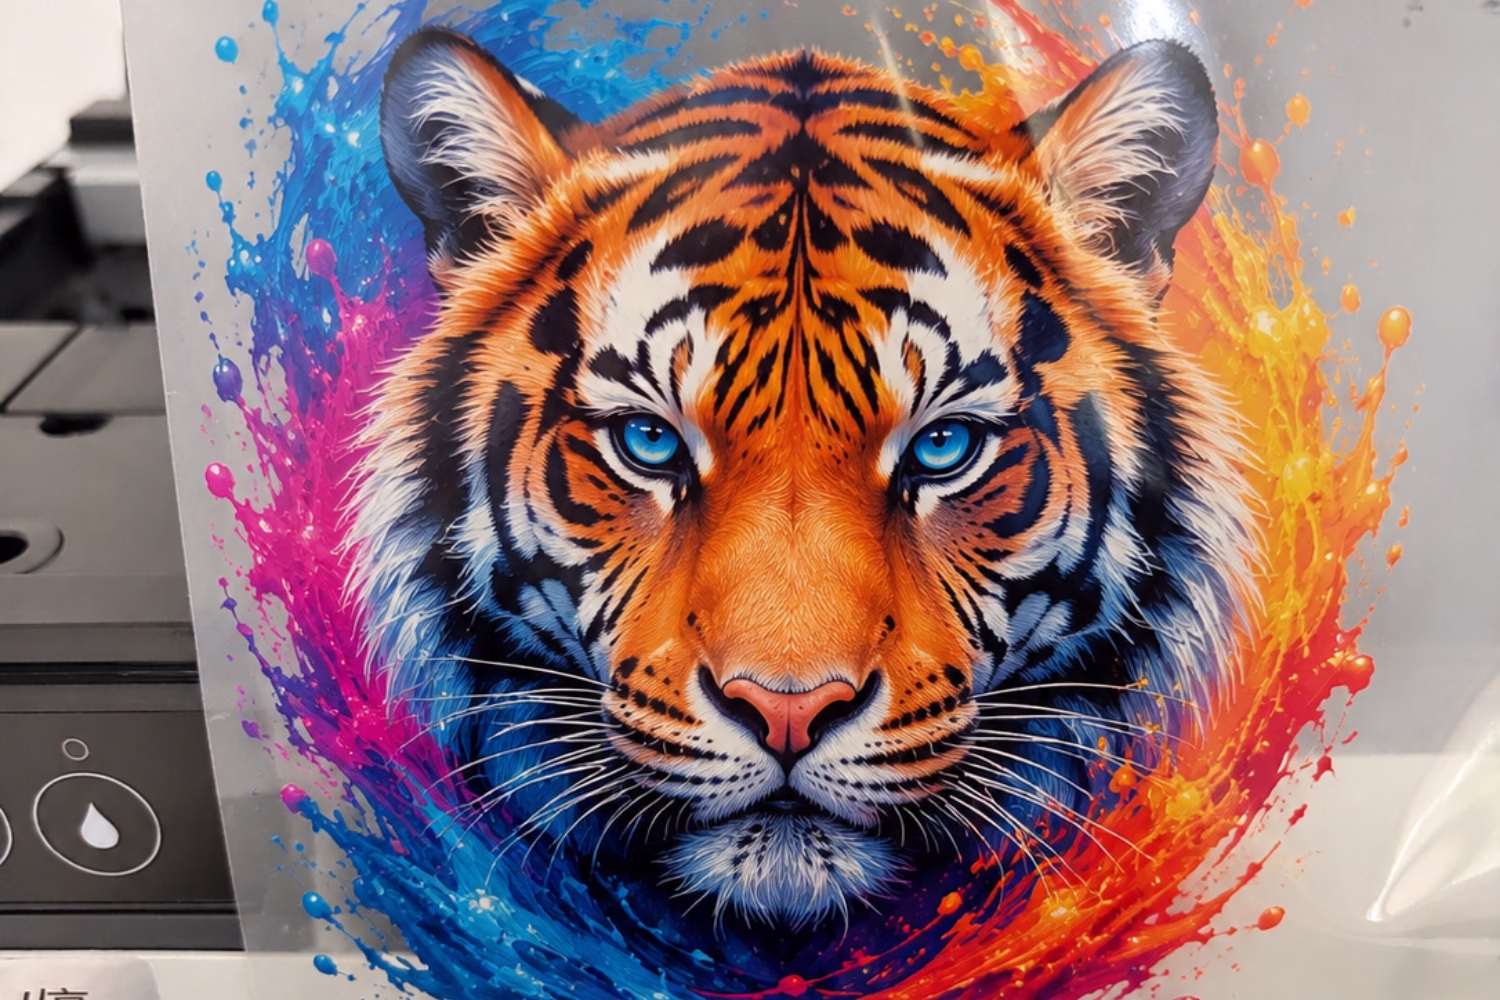
2. Print onto coated PET film
The printer lays down the color layers in CMYK pigment ink onto a specially coated PET film, then covers the color with a layer of white pigment ink. That white underbase is what keeps colors vivid on dark garments, and it is also the layer that makes DTF printers temperamental: white ink settles, so daily maintenance is a real part of ownership.
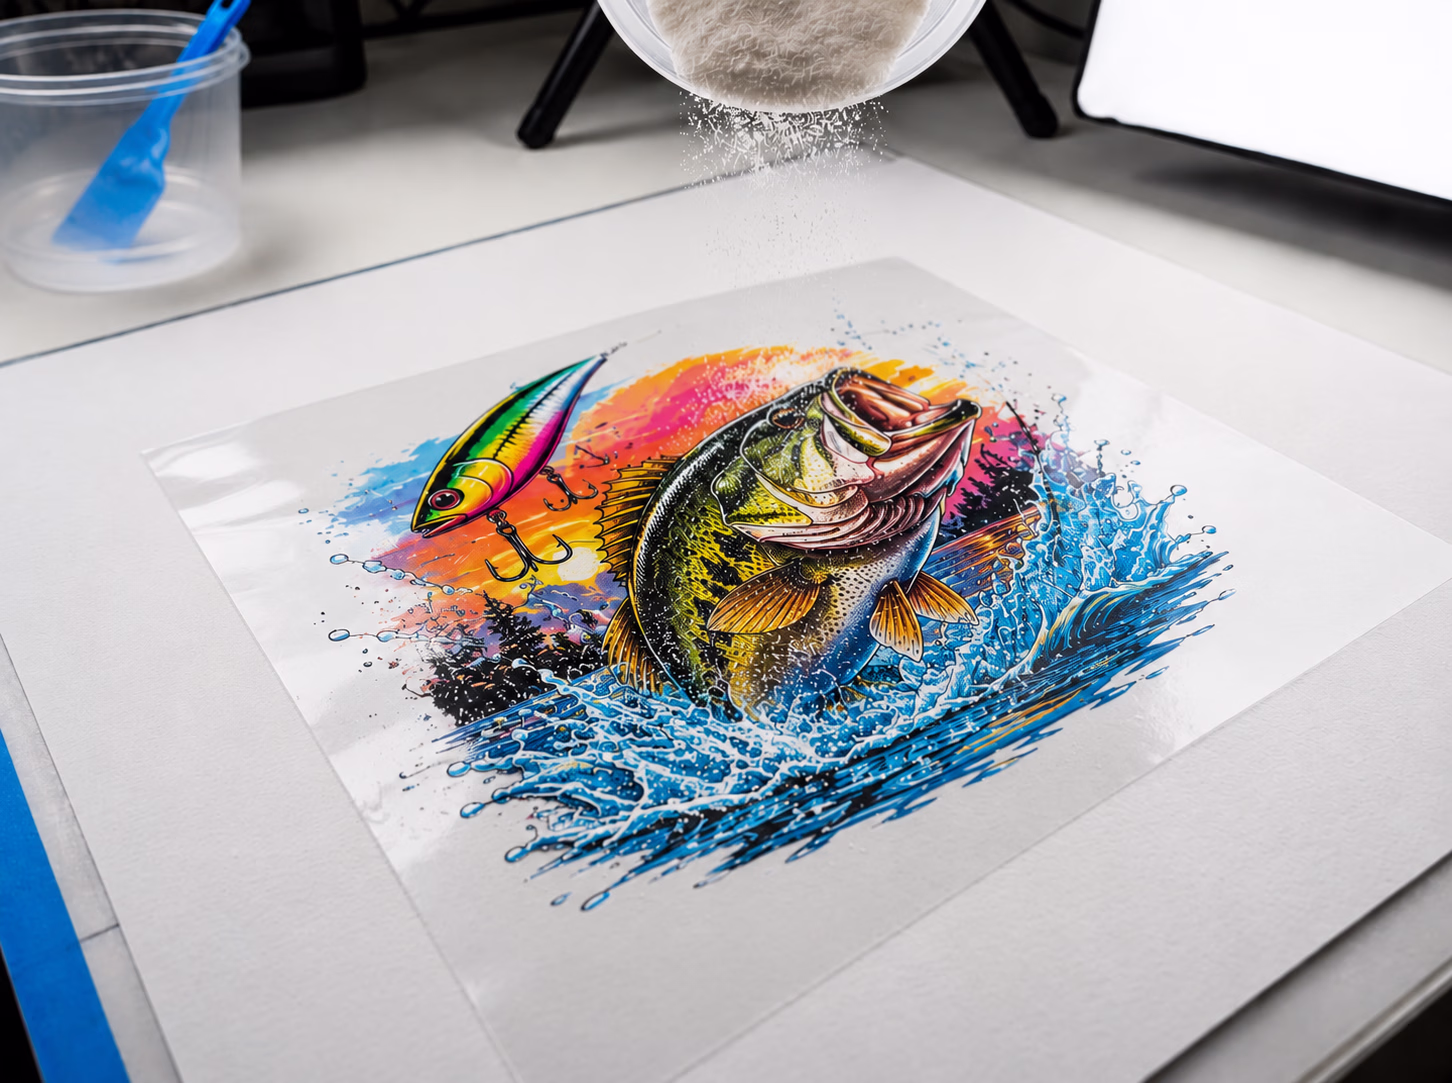
3. Apply hot-melt adhesive powder
While the ink is still wet, the print is coated with a fine hot-melt adhesive powder. The powder sticks only where there is wet ink; everything else shakes off. Commercial lines do this with an automatic shaker for a perfectly even coat. By hand, this is the step where most home attempts go wrong: too little powder and the print will not bond, uneven powder and edges lift.
4. Cure the powder
The powdered film goes under controlled heat, typically a curing oven, until the powder melts into a smooth, slightly glossy gel layer. Curing must be hot enough to melt the powder fully but not so hot that the film warps or the ink scorches. Once cured, the transfer is shelf-stable.
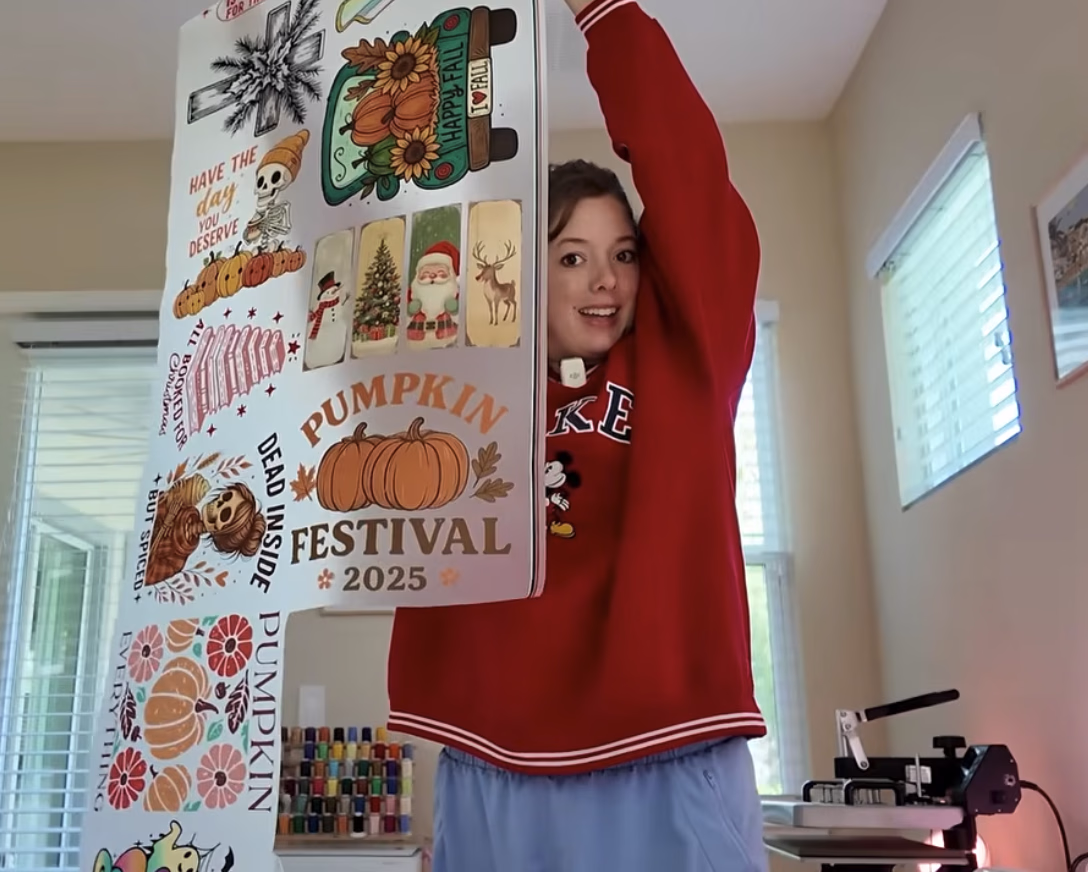
5. Store or press the finished transfer
A cured DTF transfer stores for months, which is what makes the format so practical: print now, press whenever an order comes in. When pressing day arrives, the one-line version is cotton at 320F (160C) for 15 seconds with firm pressure and a cool peel; the full fabric-by-fabric detail lives in our how to apply DTF transfers guide and the Perfect Press temperature and pressure guide.
What DTF powder is and what it does
DTF powder is a hot-melt adhesive: a thermoplastic that is solid at room temperature, melts under the heat press, and re-solidifies as the glue bonding the ink layer to the fabric. The printed ink itself has no grip on fabric; the cured powder layer is the entire bond. That explains the two classic powder failures:
- Clumping: powder is applied to wet ink, so an over-inked print, high humidity or a heavy hand leaves clumps that show as rough texture on the pressed shirt.
- Bare patches: too little powder, or powder applied after the ink has started to dry, leaves areas with no adhesive. Those areas simply do not transfer, or peel off in the first wash.
The equipment you actually need
There is no single-machine shortcut here. A working home DTF setup needs all of the following, and complete entry-level setups generally land in the $2,000 to $5,000 range before consumables:
| Equipment | What it does | Cost reality |
|---|---|---|
| Converted or dedicated DTF printer | Prints CMYK plus the white underbase onto film | The bulk of the budget, and the bulk of the maintenance |
| Coated PET film | The carrier the design is printed and cured on | Ongoing consumable |
| DTF pigment inks (CMYK + white) | The print itself; white ink needs daily circulation or it clogs | Ongoing consumable, white is used heavily |
| Hot-melt adhesive powder | Becomes the glue layer when cured | Ongoing consumable |
| Curing oven or controlled heat source | Melts the powder into a stable adhesive layer | Second-largest equipment cost for most setups |
| Heat press | Applies the finished transfer to garments | Needed whether you make or buy transfers |
The hidden cost is time: white-ink printers need daily maintenance to prevent print head clogs, and a clogged head can mean an expensive repair. If you are weighing printers for a business, our best DTF printer for small business guide covers what to look for.
Make or buy: the honest math
We sell DTF transfers, so read this knowing that, but the math is easy to check yourself. Making your own means the equipment outlay above, consumables, daily maintenance, and a learning curve of misprinted film and badly powdered sheets. Buying means paying per print with zero equipment and zero waste.
The honest verdict: most crafters and small sellers are better off ordering ready-to-press transfers. Owning a printer starts to make sense only with steady, high weekly volume and the willingness to be your own print technician. Price your actual design sizes in our DTF price calculator and compare against what the equipment would cost you.
Ordering also scales down to one: there is no minimum order, and you can pack many designs onto a single gang sheet to cut the per-design cost.
How we make transfers in our Kentucky facility
Every transfer we sell runs through the exact process above, at production scale, in our facility in Kentucky, USA. Commercial printers lay the ink, automatic shakers apply the powder evenly, and tunnel ovens cure each sheet consistently, the steps that are hardest to get right by hand.
Before anything prints, every file is human-checked: a real person reviews your artwork for resolution and transparency issues so problems are caught before they reach film. Orders ship in 1-2 business days, there is no minimum order, and US shipping is free over $75. The result is rated for 50+ washes when applied correctly.
Storing unpressed transfers
One of DTF's best features is shelf life: a properly cured transfer keeps for months. To get that full life:
- Store flat, or loosely rolled with the printed side out, never creased.
- Keep them cool and dry. Heat is the enemy; the adhesive is designed to melt, so a hot car or attic can ruin a stack.
- Avoid direct sunlight and high humidity.
- Keep the printed surfaces from rubbing against each other in storage.
Stocking up is practical: order designs ahead on a custom DTF transfer order and press garments as they sell.
