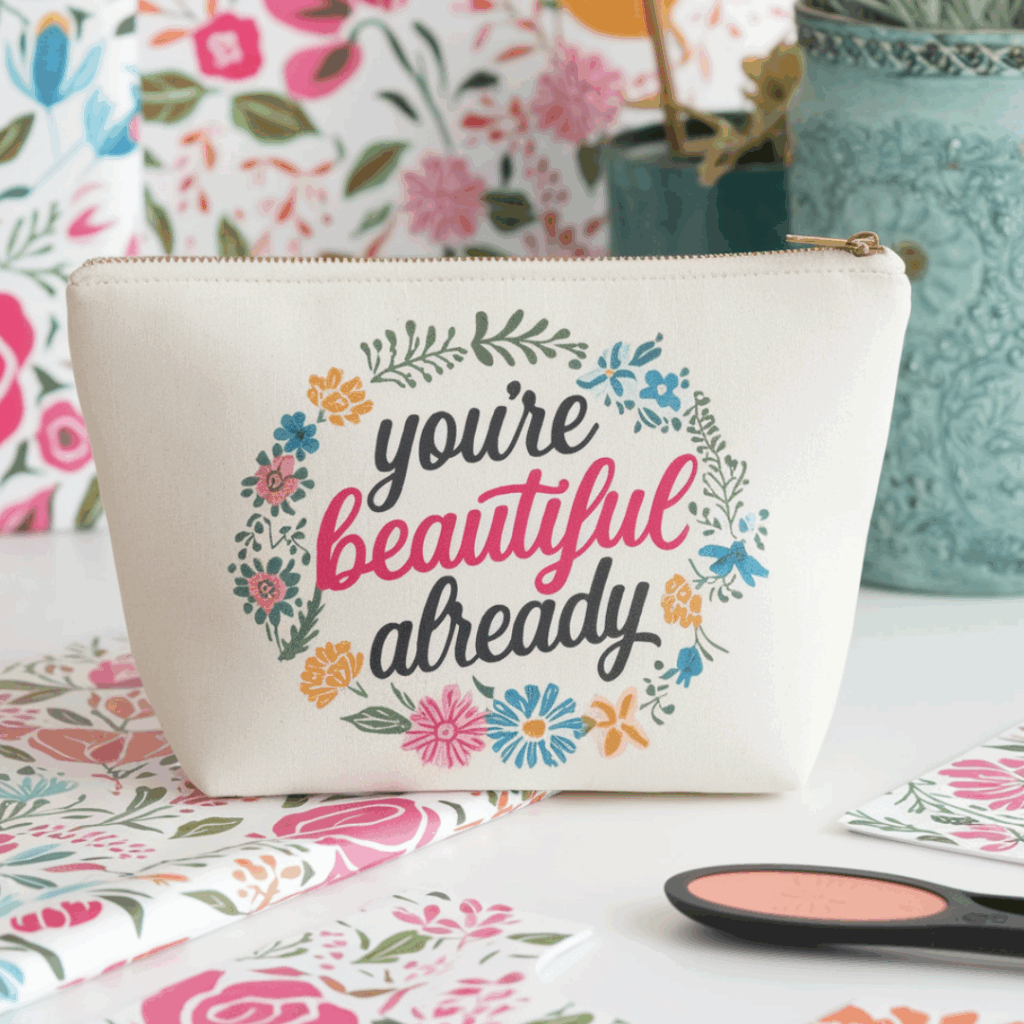
You’ve designed a beautiful graphic, you’ve ordered your high-quality DTF transfer from dtfprinter.com, and you’re ready to create a stunning final product. This is the exciting part! But getting that perfect, durable, professional-looking print comes down to one critical step: the press.
A great transfer is only half the battle. Your heat press technique is the other half, and mastering it is the key to unlocking flawless results, every single time.
Don’t worry, it’s not complicated! This guide will walk you through the “Golden Triangle” of DTF pressing—Temperature, Time, and Pressure. We’ll also cover common issues, how to solve them, and provide a handy cheat sheet you can save for later. Let’s make you a pressing pro!

Why Your Heat Press Matters More Than You Think
While you can technically use a household iron or a handheld press, a quality clamshell or swing-away heat press is one of the best investments you can make for your craft business. Why?
- Even Temperature: A good press distributes heat evenly across the entire platen, ensuring every part of your design gets the heat it needs to adhere properly.
- Consistent Pressure: It allows you to apply firm, even pressure, which is something handheld devices just can’t replicate consistently.
Think of your heat press as the oven for your crafting “recipe.” An inconsistent oven leads to inconsistent results.
The Golden Triangle of DTF Pressing
Getting a perfect press comes down to balancing three key elements.
1. Temperature
The temperature of your heat press needs to be hot enough to activate the adhesive on the back of the DTF transfer, but not so hot that it scorches the fabric or damages the print.
- Too Low: The adhesive won’t melt properly, causing the transfer to peel off or crack after washing.
- Too High: You risk burning or discoloring your garment (especially polyester) and can damage the integrity of the transfer itself.
2. Time
This is how long you press the garment. It’s a surprisingly short amount of time!
- Too Short: The heat won’t have enough time to fully penetrate the transfer and activate the adhesive.
- Too Long: Similar to too much heat, you can scorch the fabric or transfer. It’s a common misconception that “more is better” here—it’s not!
3. Pressure
DTF requires firm, even pressure to ensure the design makes full contact with the fabric fibers and the adhesive bonds correctly.
- Too Light: The transfer won’t adhere properly across the entire design, leading to peeling, especially around the edges.
- Too Firm: While less of an issue than too little pressure, excessive pressure can sometimes cause the adhesive to “squish” out from the edges of the design.

The Art of the “Cold Peel”: The Most Important Step
If you’re used to HTV (Heat Transfer Vinyl), you might be familiar with a “hot peel,” where you rip the carrier sheet off immediately. Do not do this with DTF!
DTF transfers require a COLD PEEL.
This means after you press the design, you must let the garment and transfer cool down completely until it is cool to the touch. This allows the adhesive to fully set and harden onto the fabric. Once it’s cool, you can peel the clear film away, and the design will remain perfectly bonded to the shirt.
What happens if you peel it while it’s still warm? The adhesive is still pliable, and you risk pulling the design up along with the film, resulting in a failed application. Patience is key!
Troubleshooting: Solving Common DTF Problems
- “Why isn’t my transfer sticking?” This is almost always a pressure issue. Increase the pressure on your heat press to “firm.” If it still doesn’t stick, increase your temperature by 5-10 degrees.
- “Why does my shirt look shiny or have a press box around the design?” This is usually caused by too much heat or too much time. Reduce your temperature slightly or press for a few seconds less. A quick fix is to cover the design with parchment paper and press again for just 2-3 seconds, which can help reduce the shine.
- “Why is my design cracking after I wash it?” This typically points to an improper initial application. It usually means not enough pressure or heat was used, or the transfer wasn’t allowed to cool completely before peeling (an improper cold peel).

The Ultimate DTF Pressing Cheat Sheet
Save this guide for easy reference! These are great starting points—always do a test press if you’re using a new material.
| Fabric Type | Temperature Range | Time | Pressure | Peel Type |
|---|---|---|---|---|
| 100% Cotton | 300-320°F (150-160°C) | 10-15 seconds | Firm | Cold |
| 50/50 Cotton/Poly Blend | 280-300°F (140-150°C) | 10-12 seconds | Firm | Cold |
| 100% Polyester | 260-280°F (130-140°C) | 8-10 seconds | Firm | Cold |
| Tri-Blends | 260-280°F (130-140°C) | 8-10 seconds | Firm | Cold |
| Canvas / Denim | 300-320°F (150-160°C) | 10-15 seconds | Firm | Cold |
Pro Tip: After peeling the film, it’s a great practice to do a final 5-second press with a sheet of parchment paper over the design. This helps increase durability and gives the print a nice, matte finish.
With these tips and a little practice, you’ll be creating flawless, professional-quality products every single time. Now go get pressing!
