DTF Basics
What are DTF transfers?
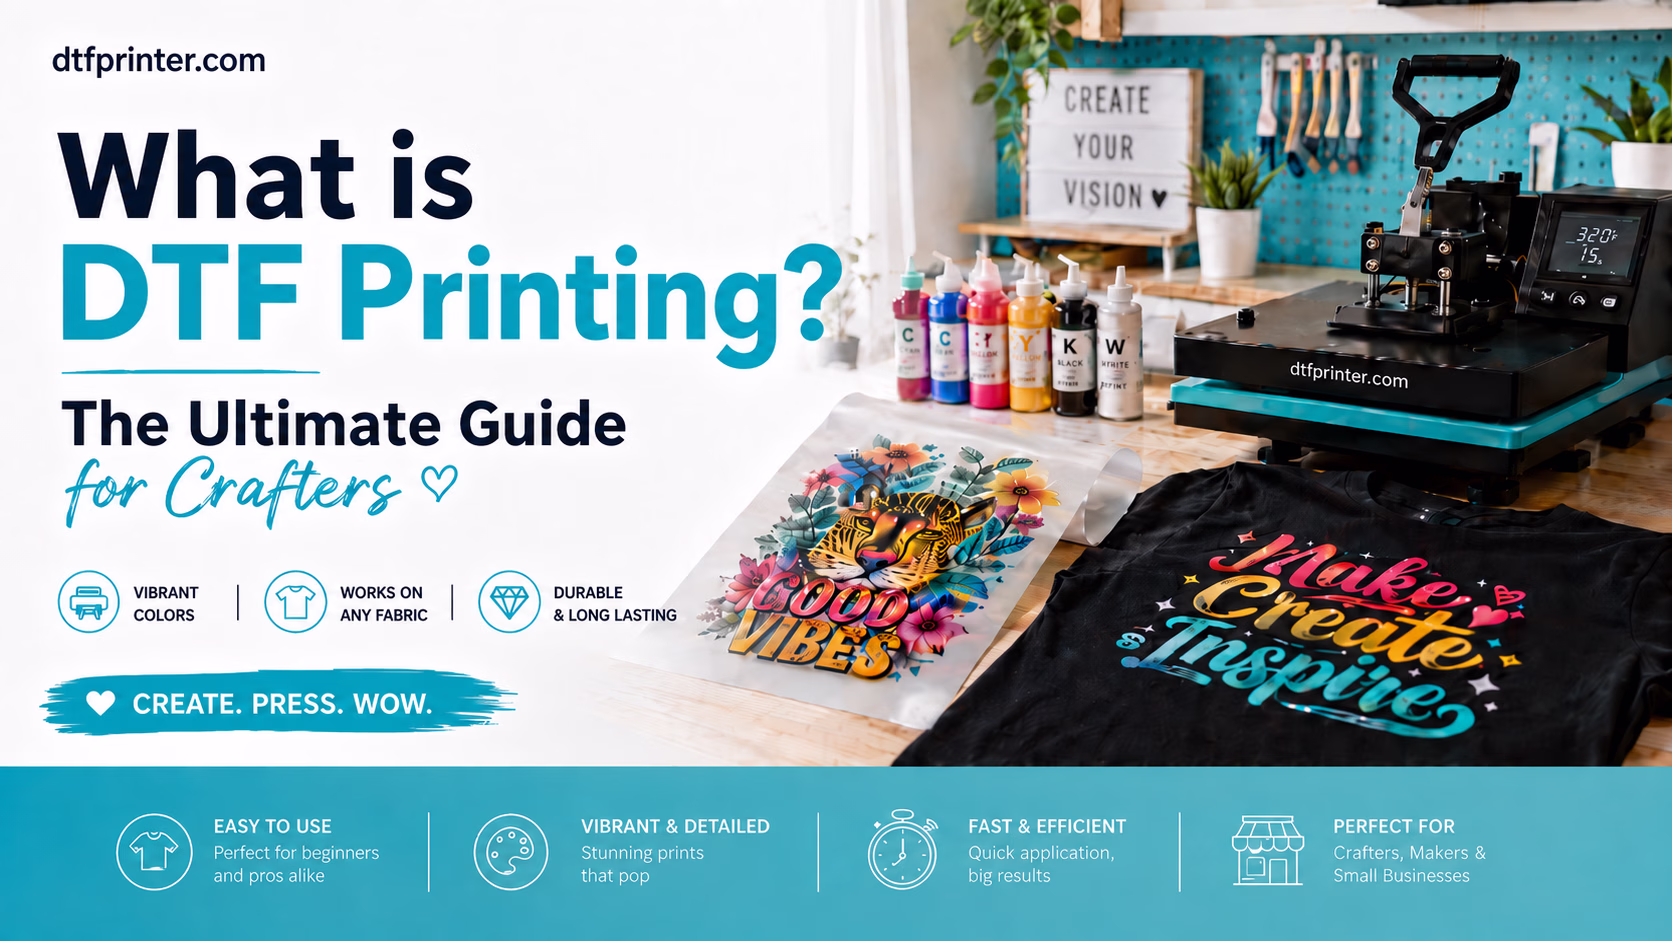
DTF (direct-to-film) transfers are full colour designs printed onto film that you heat press onto fabric. A white ink underbase lets them work on any fabric and any colour, including cotton, polyester and blends, and they arrive ready to press with no cutting, weeding or layering. For the full breakdown, see our
guide to what DTF printing is.
How do DTF transfers work?
The design is printed on film with a hot-melt adhesive layer; your heat press melts that adhesive into the fabric. Press at the recommended temperature and time, let it cool, peel the film away and the print is bonded to the garment. No cutting, weeding or special printer needed, just a heat press (or a household iron in a pinch).
Application & Heat
What are the best heat press settings for DTF transfers?
The DTF heat press settings are: pre-press 3-5 seconds, then press for 15 seconds on cotton (10-12 seconds on polyester) at medium-firm pressure, cool peel, and a 5-10 second re-press through parchment or butcher paper. Use about 320F (160C) on 100% cotton and a cooler 280F (138C) on 100% polyester, with blends in between. These are starting points only, so follow your film's instructions and test a scrap first. Our
Perfect Press guide walks through every step.
What DTF heat press settings should I use with a Cricut or EasyPress?
Use the same temperatures with a little more time. Set a Cricut EasyPress or similar to about 320F (160C) for cotton or 280F (138C) for polyester. These smaller presses apply less force, so press firmly for around 15-20 seconds per area, cover the whole design, cool, peel, then re-press through parchment.
What temperature do you apply DTF transfers at?
About 320F (160C) on cotton and a cooler 280F (138C) on polyester. Press for 15 seconds on cotton or 10-12 seconds on polyester with medium-firm pressure, then a short re-press. Pre-press the blank for 3-5 seconds first. Settings vary by film, so always follow the instructions supplied with your specific transfer.
Do you press all fabrics at the same temperature and time?
No. 320F / 160C is the cotton starting point. Polyester needs a cooler 280F / 138C to avoid scorching and dye migration, and stretch or coated fabrics lower still. Use the fabric table as your starting point and test a scrap first.
How do I know the transfer has bonded properly?
Pressed correctly, you should be able to see the texture of the fabric through the transfer. That means it has bonded into the fibres rather than sitting on top. Use firm pressure to get there, easing off only on delicate polyester and stretch fabrics.
Should I pre-wash blanks before pressing DTF?
It is optional. Pre-washing removes factory residue and pre-shrinks the garment, which can help adhesion and prevent puckering, but many people press straight from the bag with good results. If you do pre-wash, skip the fabric softener (it leaves a coating that resists bonding) and make sure the garment is fully dry. The pre-press step then drives off any remaining moisture.
What happens if you press DTF too long?
You risk scorching the garment and over-melting the adhesive. Too much time can discolor the fabric (especially polyester), leave a shiny press box, and over-melt the adhesive so it spreads or weakens. More time is not more durable: stick to 15 seconds on cotton and 10-12 seconds on polyester, and fix any lifting with a short re-press instead of a longer first press.
Why is my DTF transfer shiny after pressing?
Press marks from too much heat or time. Reduce the temperature slightly or press a few seconds less. To rescue a shiny garment, cover the area with parchment paper and press again for just 2-3 seconds, which helps knock the shine back.
Do all DTF films use the same settings?
No. Adhesive formulas, peel style and dwell times differ between film brands, which is why supplier instructions always win over a generic chart. Our published figures are DTF Printer's starting points for our transfers on a calibrated press. If you mix suppliers, test a scrap from each batch before a full run.
Do you press before or after peeling?
Both. Press the transfer at full settings, let it cool, peel the film, then cover the design with parchment and re-press for about 5-10 seconds. That final re-press locks the print into the fibers, softens the finish and is what makes the transfer survive 50+ washes.
Fabrics
Can you put DTF on any fabric, and is it the same settings for all?
DTF works on most fabrics, including cotton, polyester and blends, thanks to the white layer under the design. You do not use one setting for everything though: cotton presses hottest at about 320F (160C), polyester needs a cooler 280F (138C), and stretch or coated fabrics lower still. Use the fabric table as your starting point and test a scrap first, especially on synthetics and anything with a water-repellent coating.
Can you press DTF transfers onto polyester?
Yes. Lower the heat to about 280F (138C) to stop the garment's own dye migrating into the white layer of your design and tinting it, especially on bright colours. Reduce the time slightly, use a cool peel, and always test on a scrap first, since dye migration can appear hours after pressing.
Does DTF work on plastic or other hard surfaces?
Not regular DTF. The heat-applied transfers are made for fabric. For hard, non-porous surfaces such as plastic, glass, metal, wood or ceramic (tumblers, signs, labels), use UV DTF instead: a cold peel-and-stick decal that needs no heat press.
Peeling
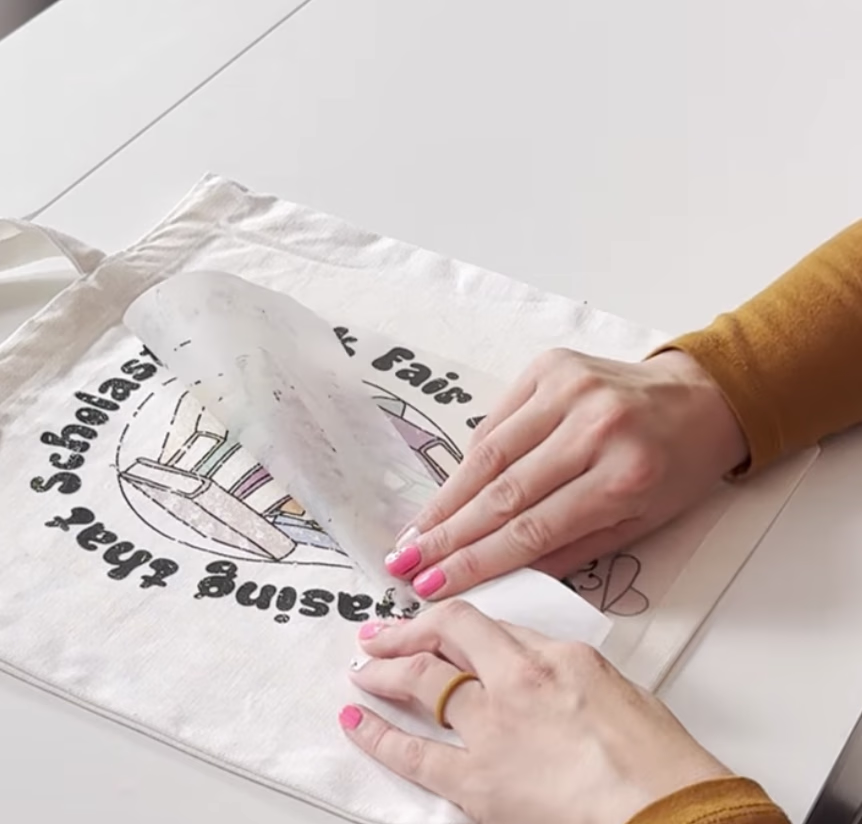
Do you peel DTF transfers hot or cold?
DTF Printer transfers are a cool peel. Let the transfer cool for about a minute, until cool to the touch, before peeling the film away. Other films may be hot peel and come off immediately while warm, so check the instructions that come with your transfer.
Why is my DTF transfer peeling off?
The most common causes are skipping the pre-press, not enough pressure, peeling before the transfer cooled, or skipping the final re-press. The re-press is what locks the design in and makes it wash-durable.
Equipment
Do you need a heat press to apply DTF transfers?
No, but it helps. A heat press gives the most even heat and pressure, so it is the most reliable option, especially for larger runs. A household iron or a Cricut EasyPress also work for applying DTF at home. What matters is steady heat, firm pressure and the full press time, so if you use an iron, press in sections and lean your weight in.
Can you use an iron for DTF transfers?
Yes. Use the high cotton setting with no steam (a medium setting for polyester), press firmly in sections for 30-45 seconds with no sliding, let it cool, peel, then re-press through parchment. A heat press gives more even results, but an iron works for applying DTF at home. See our
how to apply DTF guide for the full method.
Do I need a special printer to apply DTF transfers?
No. Your transfers arrive printed and ready to press. You only need a heat press or a household iron to apply them, with no cutting machine, weeding, or layering required.
Durability & Care
How long before you can wash a DTF shirt?
Wait 24-48 hours after pressing before the first wash. Then wash inside-out in cold water on a gentle cycle and hang or tumble dry low. Applied correctly, DTF transfers last 50+ washes.
How should I wash and care for a DTF garment?
Wash inside-out in cold water on a gentle cycle with a mild detergent. Skip bleach and fabric softener, and hang dry or tumble dry on low. Do not iron directly on the design. Wait 24-48 hours after pressing before the first wash. Cared for this way, DTF transfers last 50+ washes.
Why does a DTF print last longer than vinyl?
DTF inks bond into the fibres of the fabric with a flexible adhesive layer, rather than sitting on top as a single cut sheet like vinyl. That is why a well-applied DTF print flexes with the fabric and resists cracking, peeling and fading for 50+ washes.
How long do DTF transfers last?
Applied correctly, DTF transfers last 50+ washes. They bond into the fabric with a flexible adhesive, so they flex with the garment and resist cracking, peeling and fading. Wash inside-out in cold water on a gentle cycle, skip bleach and fabric softener, and hang or tumble dry low for the longest life.
Artwork & Files
What file format is best for DTF transfers?
A transparent PNG. We also accept JPEG and PDF. A transparent PNG keeps fine detail and means only your design prints.
What resolution or DPI should my artwork be?
A transparent PNG at 300 DPI, at the size it will actually print. Size your canvas to how big the design will really be (a large adult front or back print is often about 10-12 inches / 25-30 cm wide), then build it at that size so it stays a true 300 DPI instead of a small image stretched up. We also accept JPEG and PDF, and our team checks every file before printing.
Can you use real photos in a DTF design?
Yes. DTF prints full colour, including photographs and detailed gradients, so a photo works well as long as the file is sharp. Supply it at a high resolution (aim for 300 DPI at the size it will print) so it does not look soft or pixelated. Low-resolution images saved from social media often print blurry, so start from the original.
Can I use a Canva design for DTF, and how do I export at 300 DPI?
Yes. Set your Canva canvas to the real print size in inches (custom dimensions), design at that size, then download. For a transparent background you need Canva Pro: choose PNG and tick Transparent background. For the highest print quality, Canva Pro PDF Print exports at 300 DPI, or raise the PNG size so the pixel dimensions equal your print size times 300. Canva has no single 300 DPI button, so getting the canvas size right is what sets the true resolution.
Do you check my artwork before printing?
Yes, our team checks every file. If something will not print well, we let you know first.
What size should my DTF transfer be?
Size the design to how big it should print, not to the garment. A large adult front or back print is often about 10-12 inches wide, a left-chest logo about 3-4 inches, and youth prints smaller. Build your file at the real print size at 300 DPI. See our
DTF transfer size chart for placements by garment and age.
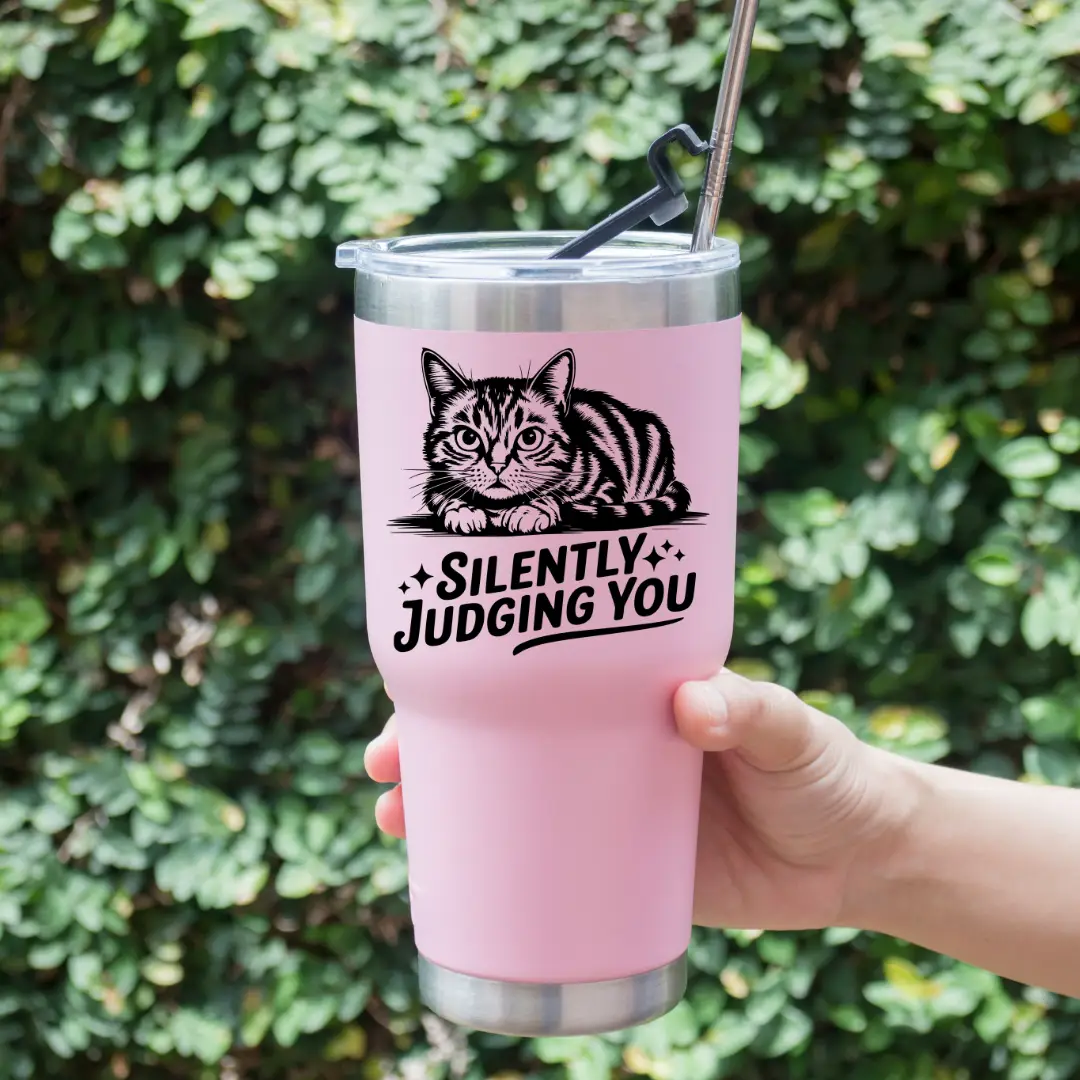
UV DTF
Do you need a machine to apply UV DTF?
No. UV DTF is a cold peel-and-stick decal. There is no heat press, iron, oven or cutting machine. You apply it by hand with a squeegee or a credit card. See our
how to apply UV DTF guide for a full walkthrough.
Can you put UV DTF on a t-shirt?
No. UV DTF is for hard, non-porous surfaces like glass, metal, plastic, wood and ceramic. It is rigid and will not flex or survive the wash on fabric. For shirts use regular DTF transfers instead.
Will UV DTF stick to a mug, tumbler or sublimation mug?
Yes. UV DTF bonds with adhesive, not heat, so it does not need a special coating. It sticks to a plain ceramic mug, a glass or stainless tumbler, or a sublimation-coated mug alike. Clean the surface with rubbing alcohol first, and hand wash to get the longest life.
Can you use UV DTF on car windows?
Yes. UV DTF bonds well to glass, so car windows work. Clean the glass thoroughly first. For long outdoor exposure, results vary with weather and washing, and the decal is not designed to be repositioned once applied, so place it carefully.
Does UV DTF feel like a sticker or smooth like sublimation?
It has a slight raised, textured feel. You can usually feel the edge of the design, a little like a quality sticker. It is not dyed flush into the surface the way sublimation is, so it will not feel completely smooth.
The clear film will not peel cleanly. What do I do?
Rub the design down again, then peel from a different corner. Give the design another firm pass with the squeegee, then try another corner or angle. A sharp, flat angle is usually best so the print does not rip.
How should I store unused UV DTF transfers?
Store unused UV DTF transfers in a cool, dry place away from direct sunlight. This preserves the adhesive quality.
Do I need to make my own UV DTF transfers?
No. We print your UV DTF transfers ready to apply. There is no printer, ink, laminate or curing to manage at home. Upload your design, we print and laminate it, and you peel, stick and rub it down by hand. See
how to apply UV DTF to get started.
Products & Ordering
Is there a minimum order?
No minimum order. Order 1 or 1,000+. Printed in the USA at our Kentucky facility, with free US shipping on orders over $75.
How long does shipping take?
Custom transfer orders dispatch in 1-2 business days, and measured US delivery averages about 4-6 days. See our
measured shipping data for current US delivery times by state.
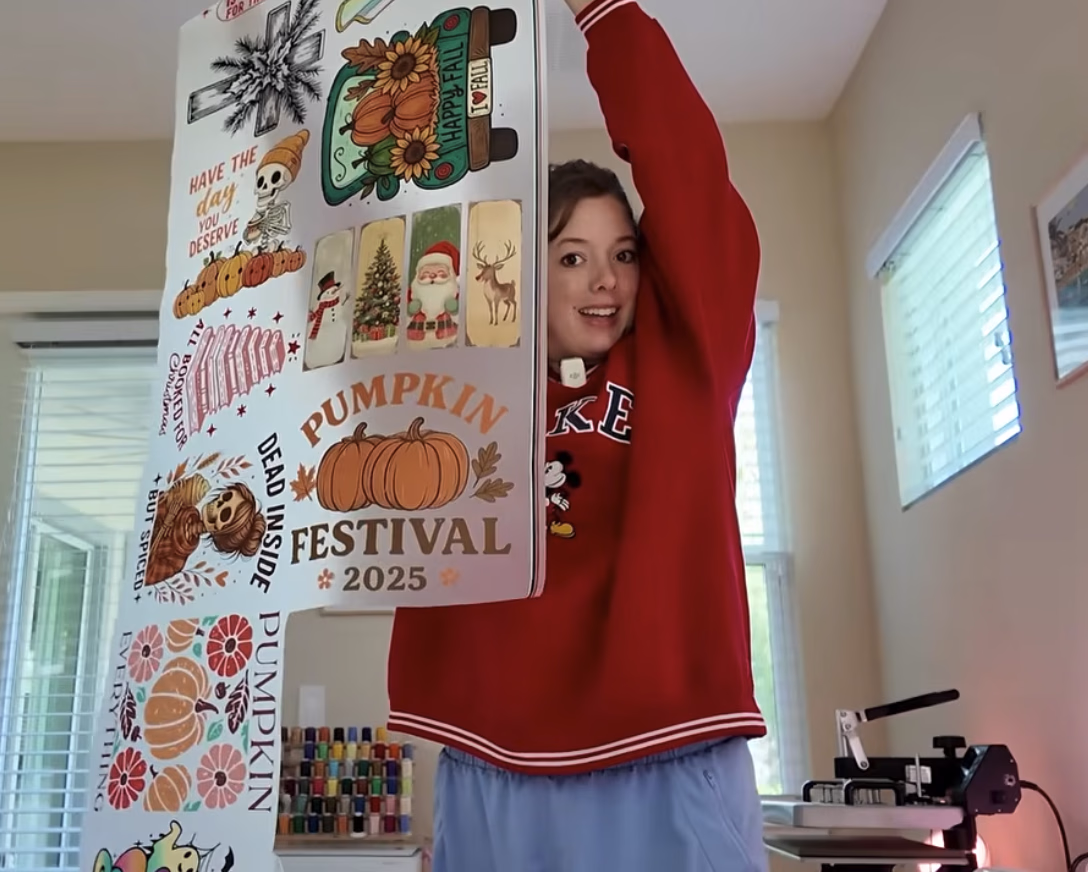
Do you sell DTF gang sheets?
Yes. A DTF gang sheet packs many designs onto one sheet to save money. Build a custom gang sheet in our
gang sheet builder: upload your designs, arrange them on a 22 inch wide sheet, and we print and ship them ready to press. There is no minimum order.
Troubleshooting
Why is my DTF transfer not sticking?
This is almost always not enough heat or pressure. It is common with small or auto-style presses that read lower than their display or apply light pressure. Verify the real platen temperature, increase pressure to firm, and always do the finishing re-press through parchment. Re-press any lifted area for 8-10 seconds. Our
troubleshooting guide covers more fixes.
My transfer went gooey or sticky and stuck to the garment. What happened?
That points to too much heat or too long under the press, which can over-melt the adhesive. It can also be the wrong settings for that film. Drop the temperature, shorten the dwell time, and follow the spec sheet for your specific transfer. Always test on a scrap first.
Can I re-press a transfer that did not stick the first time?
Yes. Lay the design flat, cover it with parchment or a Teflon sheet, and press again at the full temperature and time for the fabric with firm pressure. This rescues most partial lifts, especially edges and corners. A section that has folded over and cooled cannot be repositioned.
Why did the transfer stick to the platen instead of the shirt?
The transfer was loaded upside down, or adhesive overhung the garment edge and touched the platen. The printed design should face up, with the white-ink backing against the fabric and the clear film on top. Cover the press with parchment on the next attempt and clean any residue off the platen before pressing again.
 Beginner guide
 How-to
 How-to
 How-to
 Troubleshooting
 Comparison
