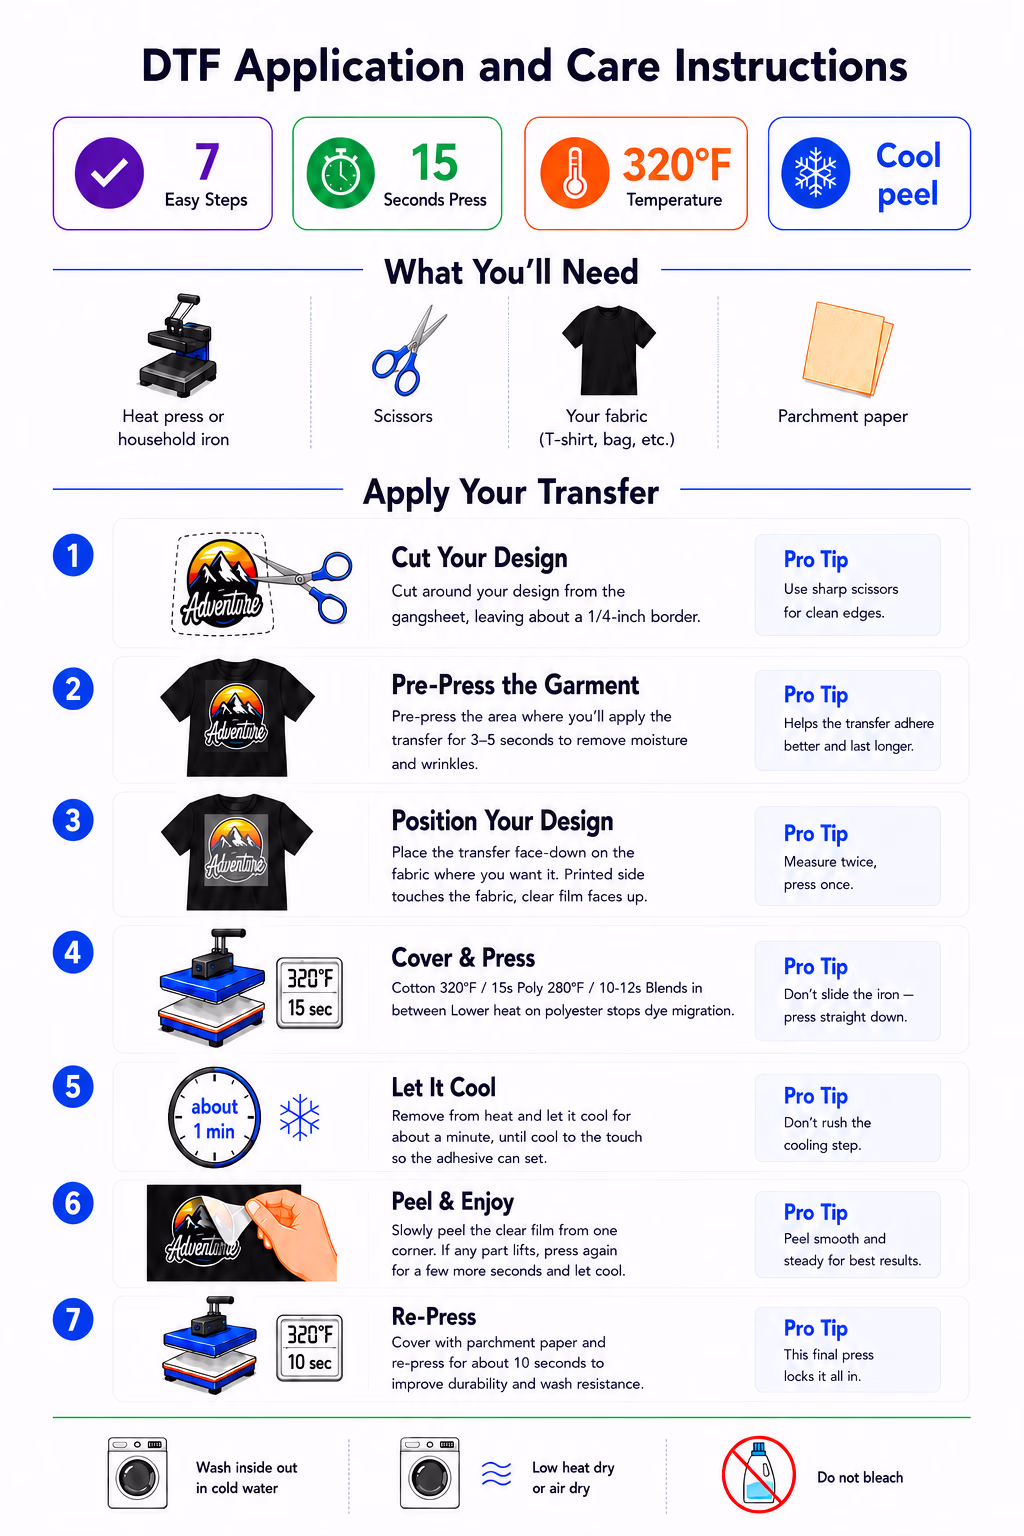
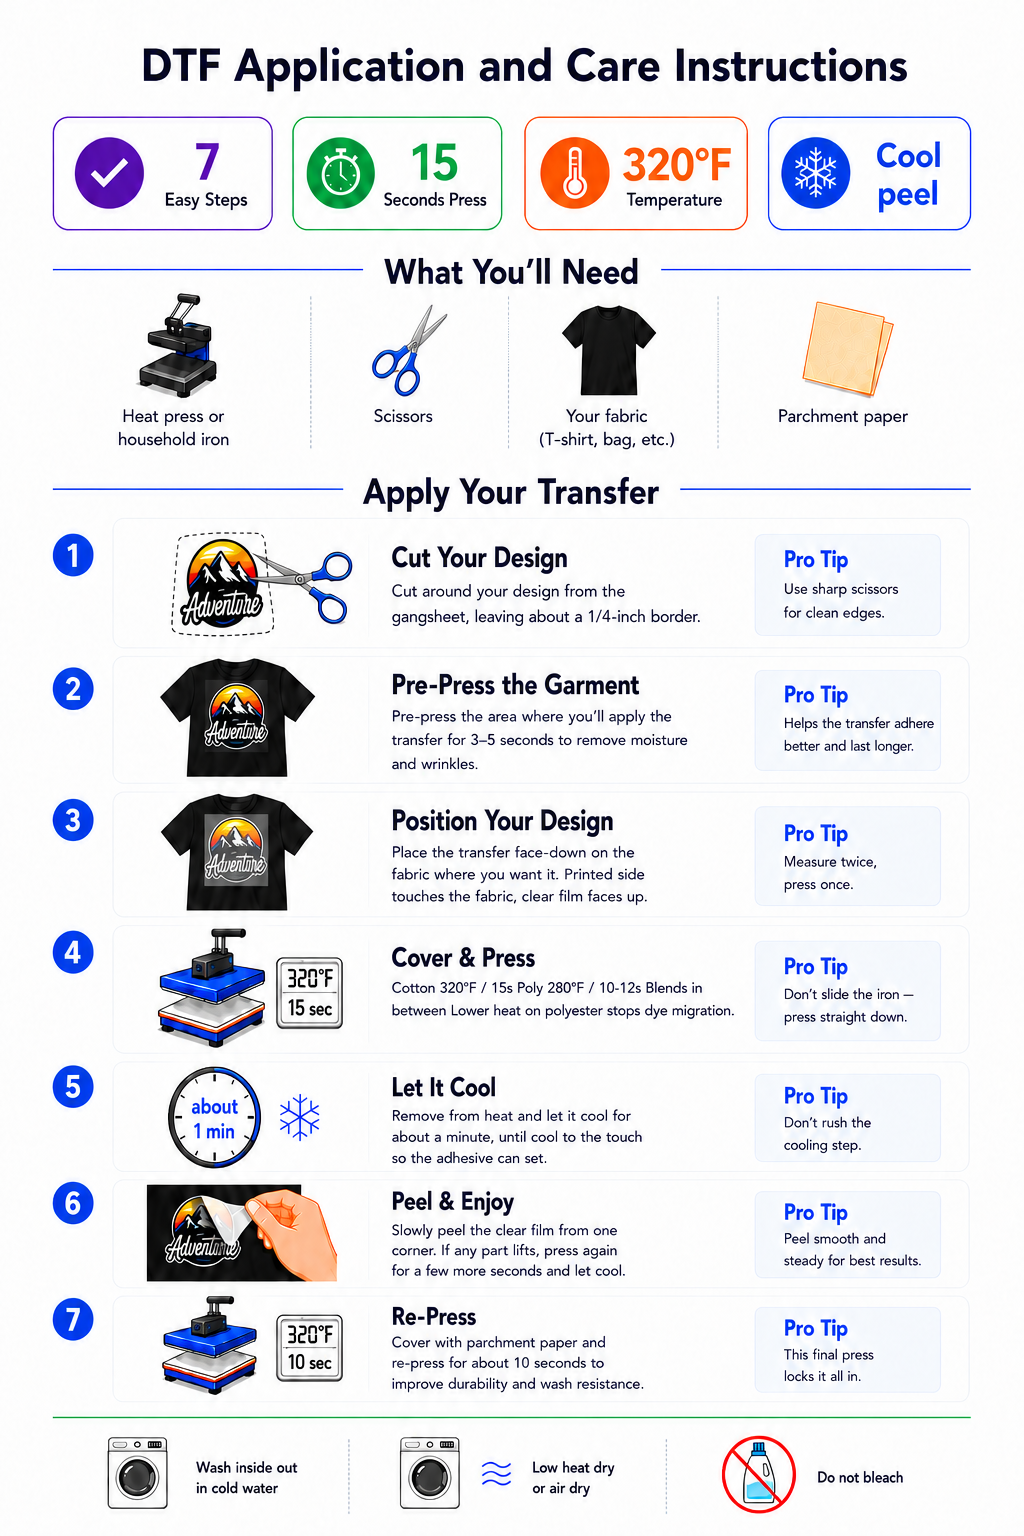
To apply a DTF transfer, pre-press the garment for 3-5 seconds to remove moisture, position the transfer with the design facing up and the white-ink backing against the fabric, then press at about 320°F (160°C) for cotton or 280°F (138°C) for polyester, with medium-firm pressure for 15 seconds on cotton or 10-12 seconds on polyester. Let it cool completely, peel the film away, then cover with parchment and re-press for about 5-10 seconds. Once you know how to press DTF transfers, each one takes about two minutes. No special printer is needed to apply a DTF transfer. You only need a heat press or, for smaller home projects, a household iron. Always follow the instructions supplied with your film.
DTF (direct-to-film) transfers are the easiest way to put full-color, professional designs on almost any fabric, no cutting machine, no weeding, and no layering. If you can use an iron, you can apply a DTF transfer. This guide shows you exactly how to do DTF transfers: every step, the press settings for each fabric, the iron method, and the common mistakes that trip up beginners, so your very first press comes out crisp and wash-durable.
New to all this? Start with What Is DTF Printing for the background, then come back here to apply your transfers.
Before you order: for the best results, start with a high-resolution image and a clean background. The quality of the file you upload is what sets the quality of the final print, so the sharper your artwork, the better your transfer will look. There is more on sizes and formats in the artwork FAQ below.
What you need
Your DTF transfer (the printed design on clear film).
A heat press or a household iron.
A garment or fabric item. DTF works on virtually any fabric and any color thanks to the built-in white layer. You just dial the heat down for polyester and nylon (see the fabric table below).
Parchment paper or a Teflon sheet to cover the design.
A firm, heat-safe surface if you are using an iron (not an ironing board with a soft pad).
Settings vary by film. The figures below are DTF Printer's recommended starting points for our transfers on a calibrated heat press. Heat, time, and peel style can differ between brands and presses.
DTF heat press settings at a glance
Setting
DTF Printer recommendation
Pre-press
3-5 seconds, light pressure (at your application temperature)
Temperature, cotton
About 320°F / 160°C
Temperature, polyester
About 280°F / 138°C (cooler, to protect the fabric)
Time, cotton
15 seconds
Time, polyester
10-12 seconds (shorter, to limit dye migration)
Pressure
Medium-firm
Cool peel
Yes, this is how our transfers peel: let it cool fully, then peel
Hot peel
Not recommended for DTF Printer transfers (ours are a cool peel)
Re-press
About 5-10 seconds through parchment or butcher paper
First wash
Wait 24-48 hours
Two habits that save failed transfers. A heat press can read 10-15°F off the temperature on its dial, and a household iron has no real temperature control at all, so check the platen with a cheap infrared thermometer if results look off. And press a scrap of the same fabric first, especially on colored polyester, before you run a full batch.
Want the deep dive on dialing in temperature, time, and pressure for tricky fabrics? See The Perfect Press, our full temp, time and pressure reference.
Settings by fabric
The adhesive on a DTF transfer bonds across a wide heat range, so the temperature you choose is really about what the fabric can take. Cotton is the most forgiving. Polyester, nylon, and stretch fabrics need less heat. Use these as starting points and test on a scrap.
Fabric
Temperature
Time
Notes
100% cotton
320°F / 160°C
15 s
Most forgiving. Medium-firm pressure.
100% polyester
280°F / 138°C
10-12 s
Keep the heat low and the time shorter to avoid dye migration, especially on bright reds, royals, and hi-vis.
Cotton/poly blend
290-300°F / 145-150°C
12-15 s
Split the difference. More polyester means cooler and a touch quicker.
Nylon / stretch
260-280°F / 130-138°C
12-15 s
Lowest heat. Use a Teflon sheet and lighter pressure. Always test first.
Why polyester runs cooler. Polyester is colored with dyes that wake up under heat. Press too hot (much above 280°F / 138°C) and that dye can creep into the white layer of your transfer and tint it pink or grey. It often shows up in the hours after pressing rather than straight away, which is why a scrap test and a cooler setting matter most on polyester.
DTF Care Instructions
Follow these DTF care instructions to keep every print looking its best. To wash DTF transfers, turn the garment inside-out and wash in cold water on a gentle cycle, skip the bleach and fabric softener, and wait 24-48 hours after pressing before the first wash. You can tumble dry DTF shirts on low or hang them to dry, and avoid ironing directly over the design. Cared for this way, DTF transfers last 50+ washes. Download the DTF care instructions card below to save, print, or share.
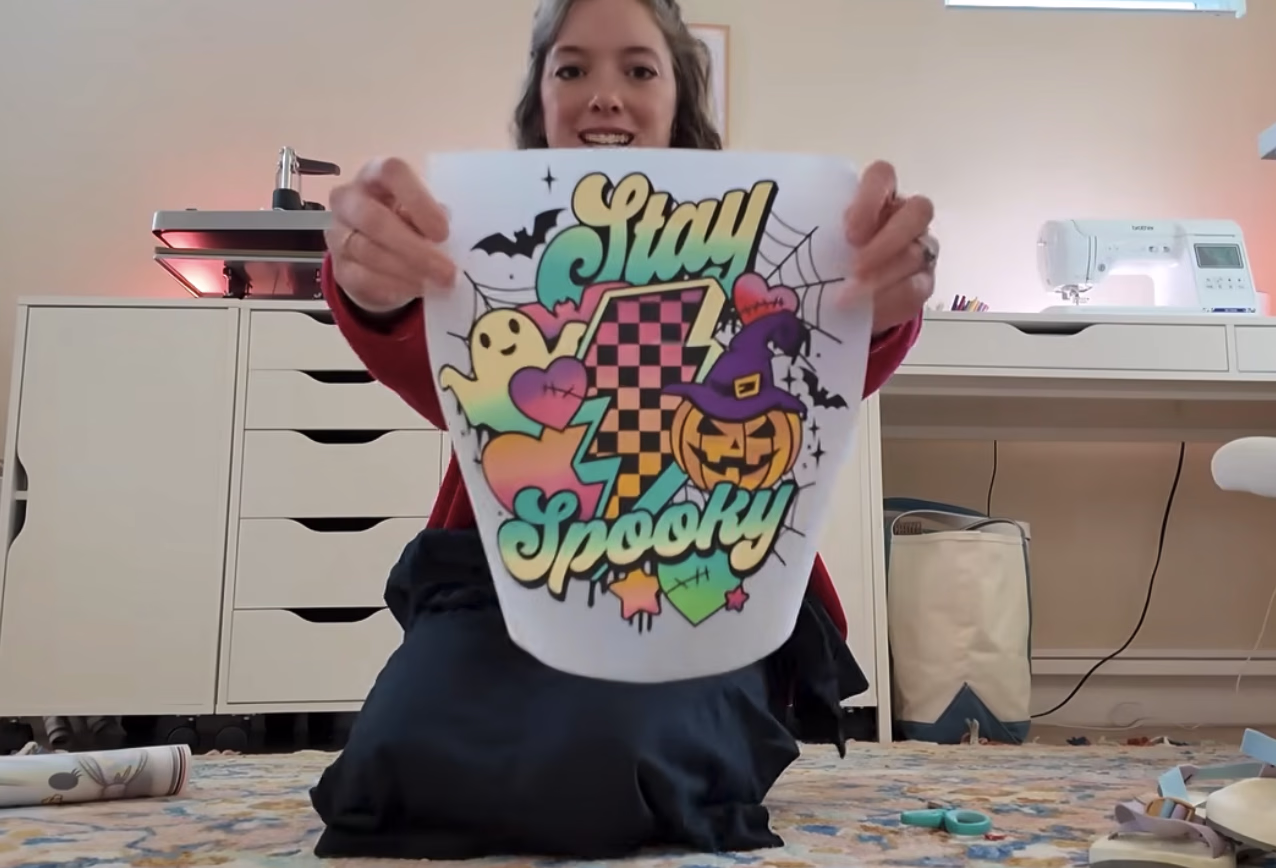
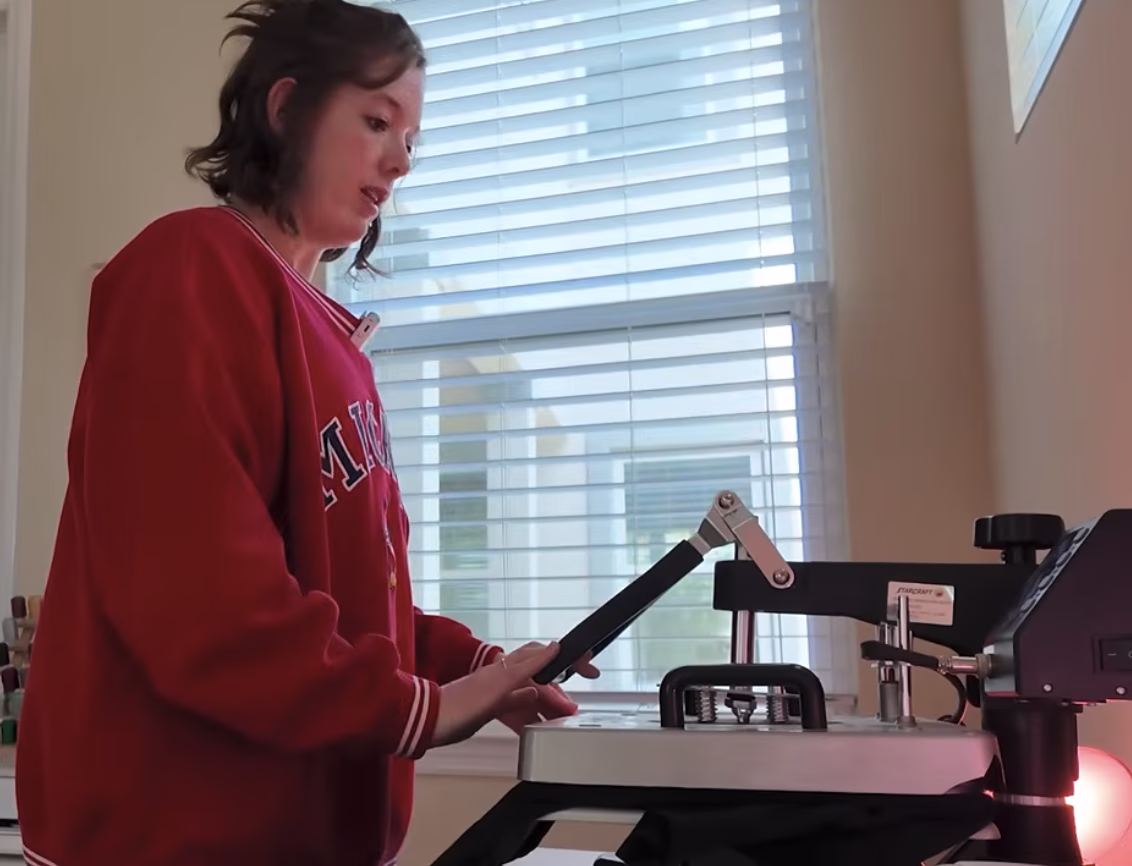
Prefer to watch it done first? This short walkthrough shows the full press, peel, and re-press, then the step-by-step is below.
Watch: applying a DTF transfer from start to finish
1. Pre-press the garment2. Position and press the transfer3. Cool, then peel the film
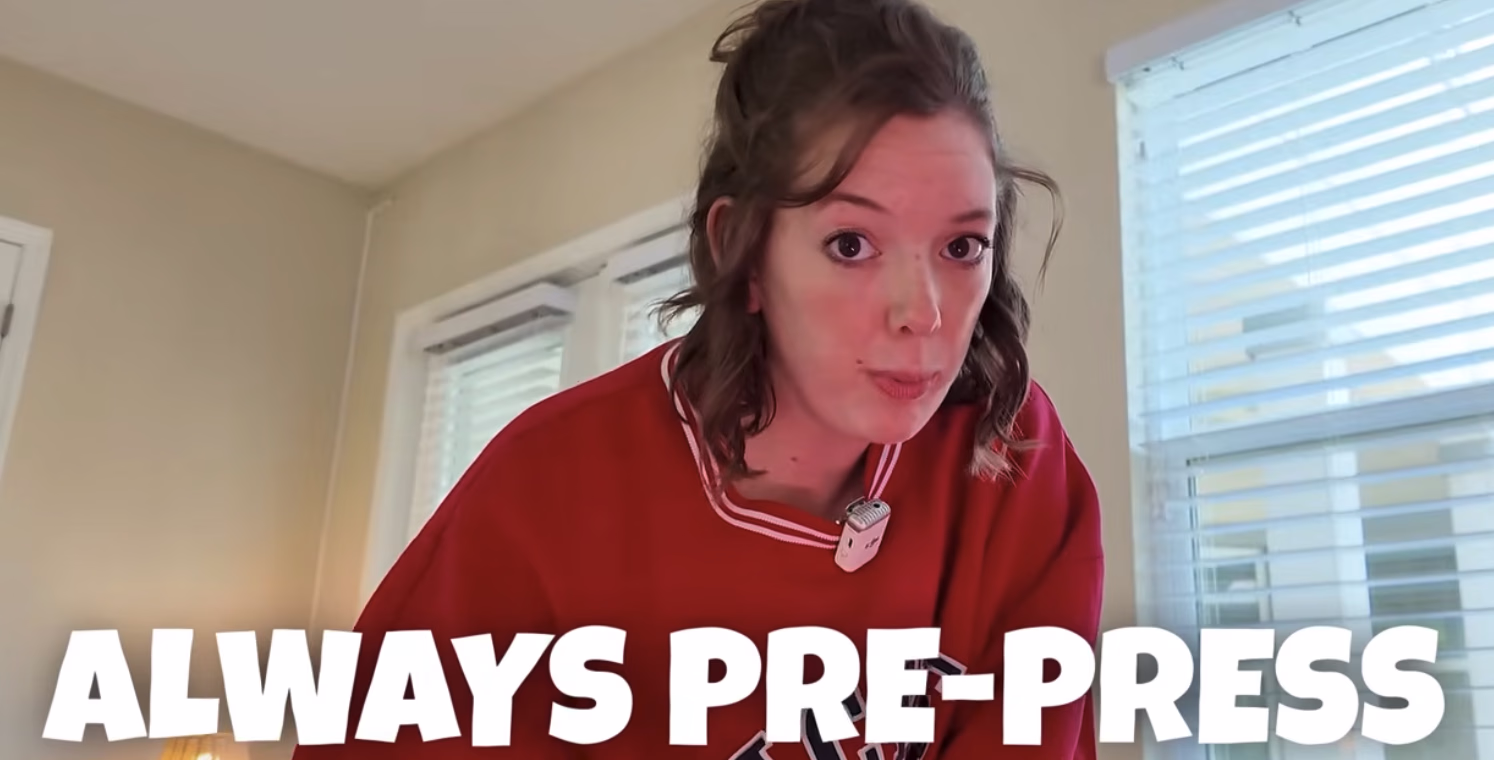
Step 1: Pre-press the garment
Place your blank on the heat press and press it on its own for 3-5 seconds at the temperature you will use for the transfer, with light pressure. This drives off moisture and flattens wrinkles, giving the transfer a smooth, dry surface to bond to. Skipping this step is the number one cause of transfers that will not stick.
Step 2: Position the transfer
Lay the transfer where you want the design, with the printed design facing up so it reads the right way round and the white-ink backing in contact with the fabric. The clear carrier film stays on top, ready to peel after pressing. Take a moment to center it: measure from the collar and the sides so it sits straight. Once you press, it is permanent.
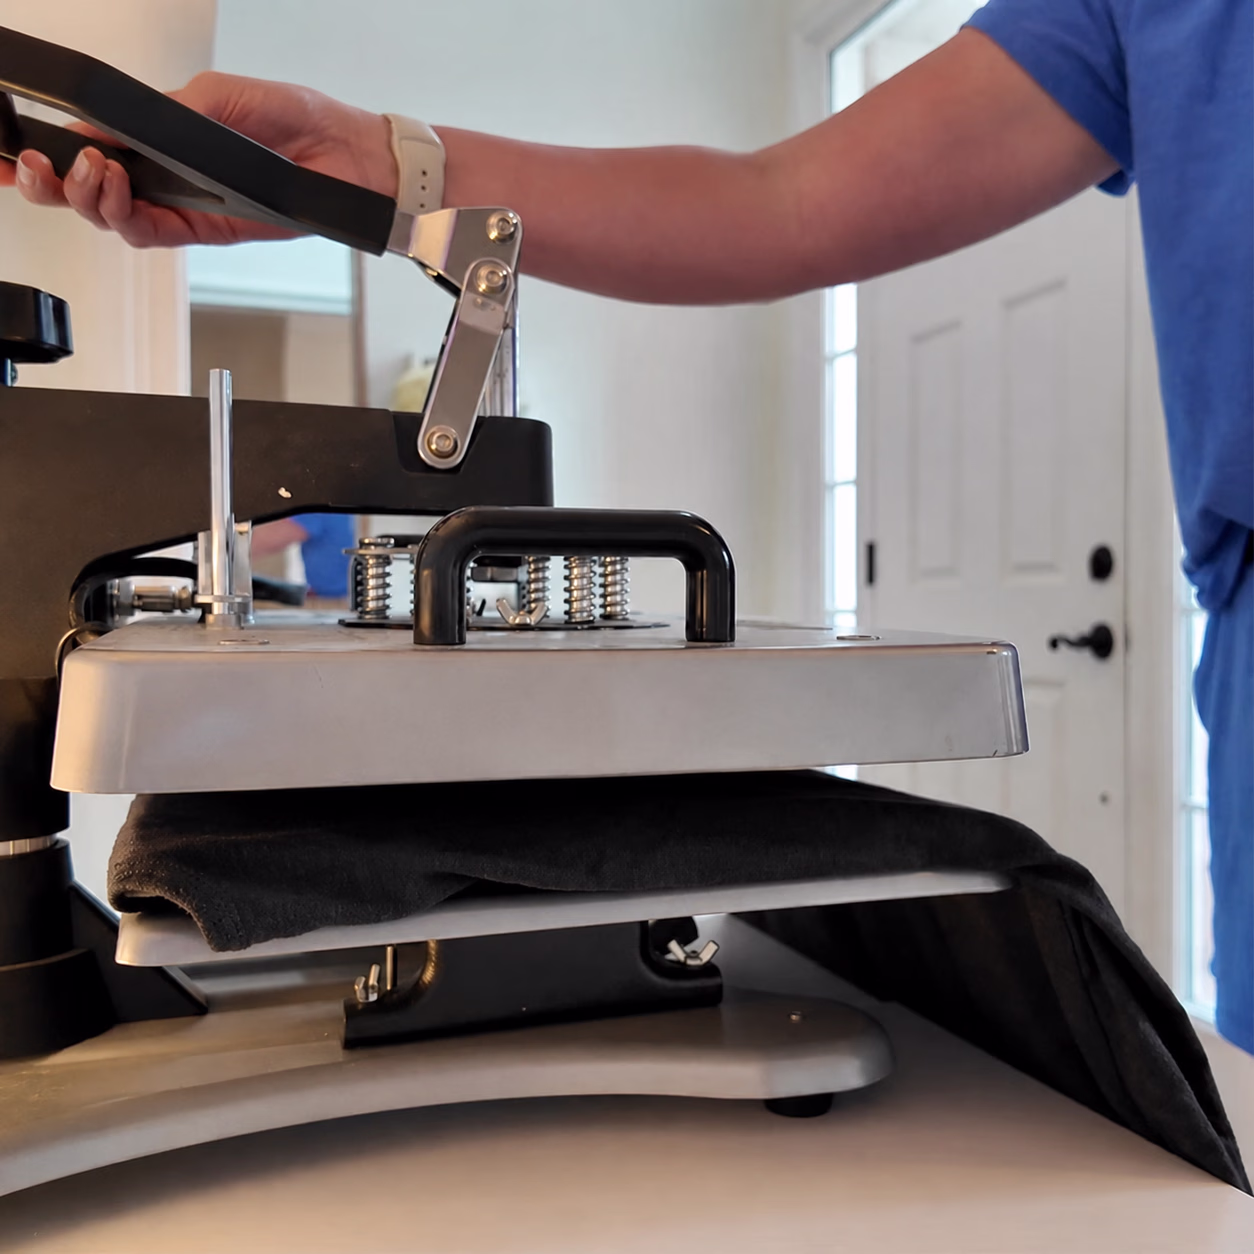
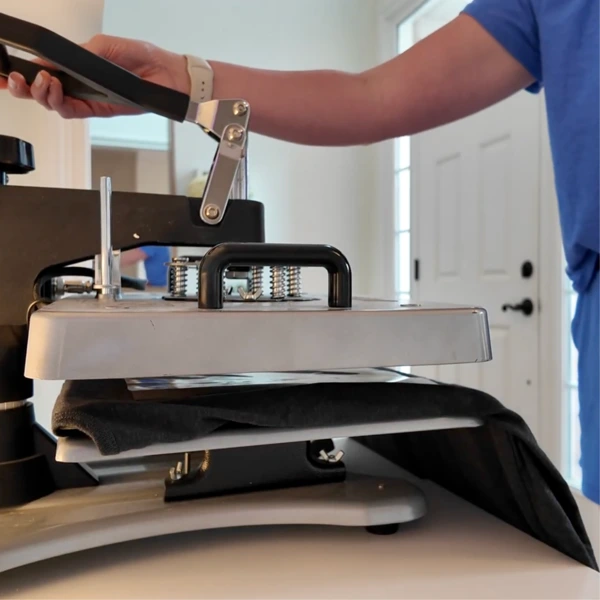
Step 3: Press the transfer
Close the press at your fabric's temperature, about 320°F (160°C) for cotton or a cooler 280°F (138°C) for polyester and poly blends, with medium-firm pressure for 15 seconds on cotton, or a shorter 10-12 seconds on polyester to help stop its dye migrating. Medium-firm means there is firm resistance when you close the press, but it is not crushing the fabric. Even, full contact across the whole design is what matters most. Running polyester cooler protects it from dye migration (see the fabric table above).
Pressed correctly, you should be able to see the texture of the fabric through the transfer. That is the sign it has bonded into the fibers rather than sitting on top, so use firm pressure to get there, easing off only on delicate polyester and stretch fabrics.
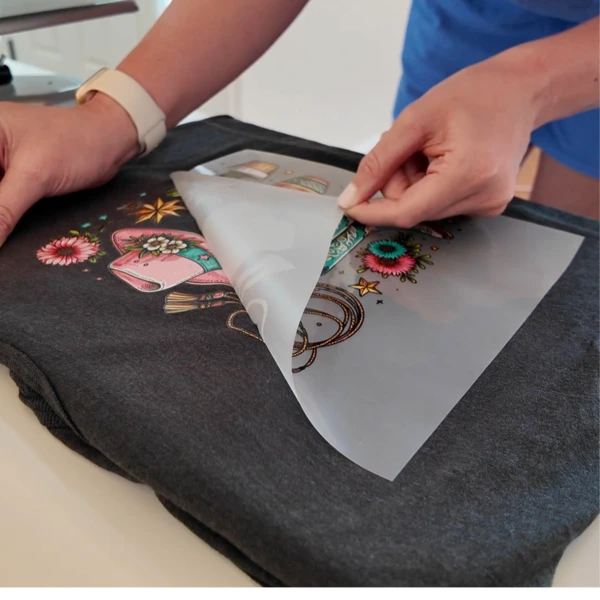
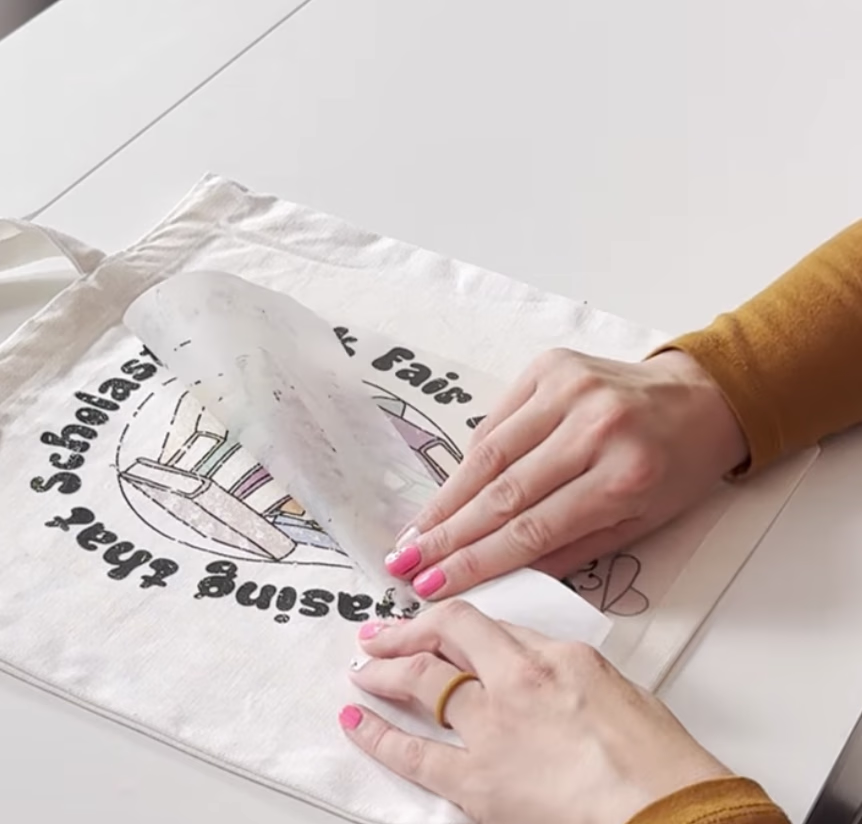
Step 4: Cool, then peel
DTF Printer transfers are a cool peel. Let the transfer cool for about a minute, until it is cool to the touch, then peel the clear film away slowly and smoothly, keeping it low and close to the fabric. The quick rule: a hot-peel film comes off immediately while still warm, while a cool peel like ours needs that minute to cool first, so always check your film's instructions. If the design lifts with the film, it was not cool enough or did not get enough heat or pressure, so lay it back down and re-press.
Step 5: Re-press to finish
Cover the design with parchment, butcher paper, or a Teflon sheet and press again for about 5-10 seconds. This final re-press locks the print into the fibers, improves the hand feel, and is what makes the transfer survive the wash. Do not skip it.
Hot peel vs cool peel: which is mine?
The difference is simply when you remove the film:
Peel type
When to peel
How to tell
Cool peel
Once cool to the touch (about a minute)
DTF Printer transfers are cool peel. Most cold/cool-peel films say so on the packaging.
Hot peel
Immediately, while still warm
Some other brands' films are hot peel. The supplied instructions will say.
If you are ever unsure, cool peel is the safer default: waiting never hurts a cool-peel film, but peeling a cool-peel film while hot can lift the design.
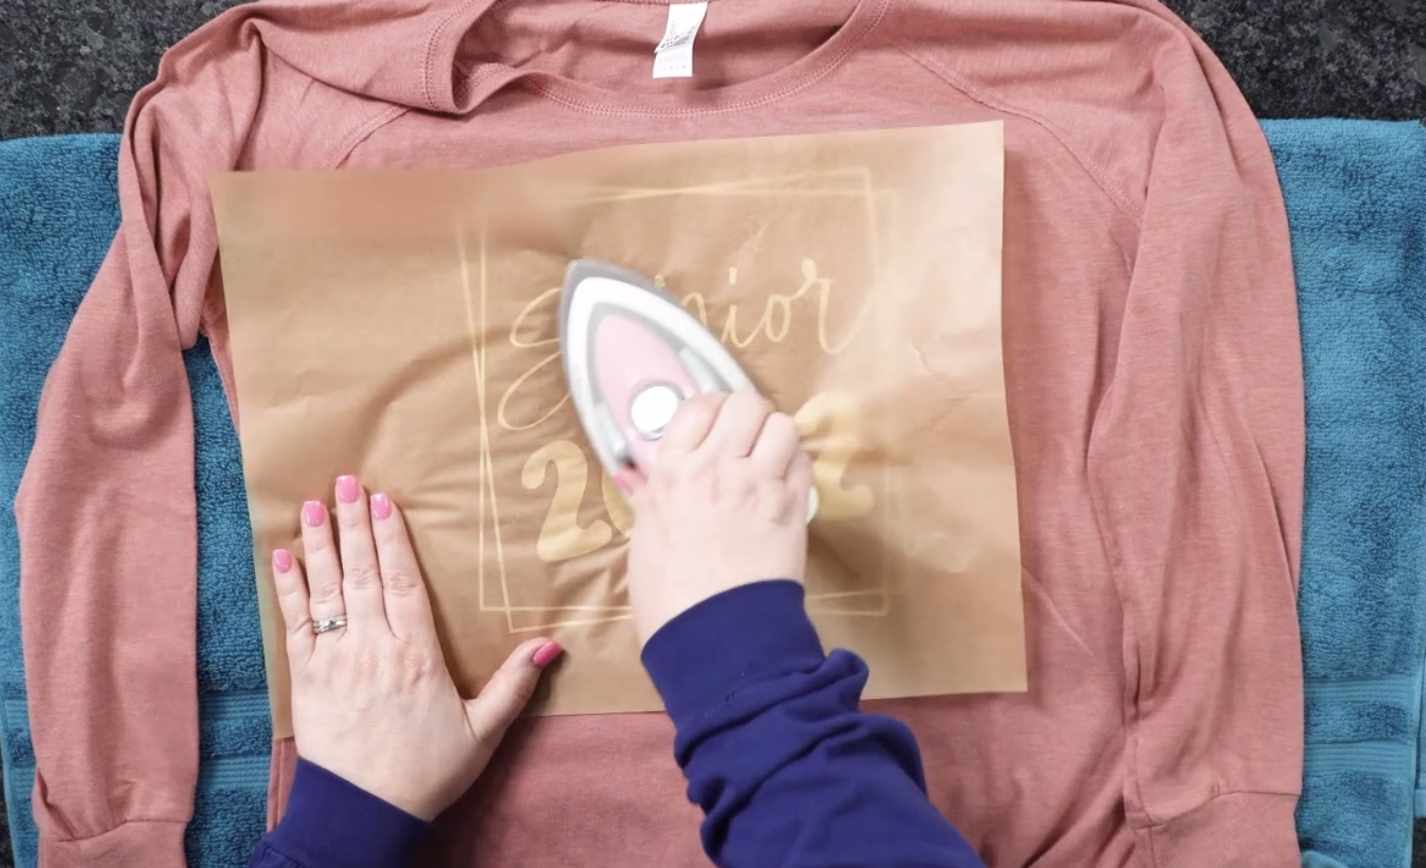
How to apply DTF transfers with an iron (no heat press)
You do not need a heat press to start. A regular household iron works for applying DTF at home, it just takes a little more care because an iron heats less evenly and you cannot set an exact temperature.
Use a hard, flat surface, not a padded ironing board. A table protected with a towel and parchment works well.
Set the iron to its high cotton setting with steam turned off. Empty any water so it cannot spit. For polyester, drop to a medium setting and test on a scrap first.
Pre-press the blank for a few seconds to dry and flatten it.
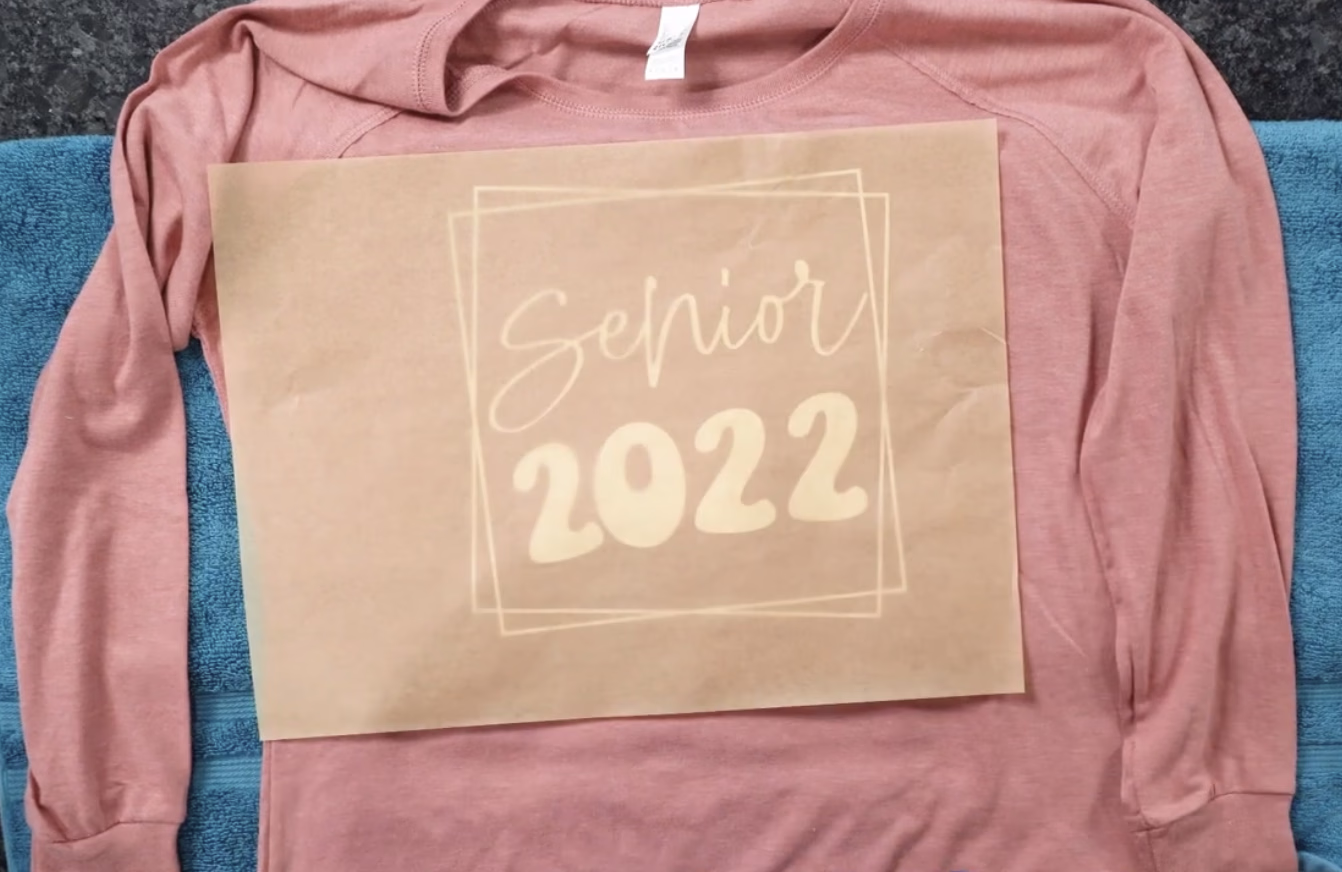
Position the transfer, then cover it with parchment.
Press firmly in sections, 30-45 seconds per section, leaning your body weight into the iron. Do not slide it; lift and move so the design does not shift.
Let it cool completely, peel, then re-press through parchment or butcher paper for another 15-20 seconds.
Tip: a cheap infrared thermometer helps you confirm your iron is actually reaching temperature. If a corner lifts after peeling, re-cover and press that area again.
When can I wash it?
Wait 24-48 hours after pressing before the first wash so the bond fully sets. After that:
Wash inside-out in cold water on a gentle cycle.
Avoid harsh detergents and bleach.
Hang dry, or tumble dry on low.
Do not iron directly on the design; flip the garment inside-out or cover with parchment.
Applied correctly, DTF Printer transfers are made to resist cracking, peeling, and fading for 50+ washes.
Why DTF cracks, and how to avoid it. Cracking after a few washes is almost always under-curing, not a faulty transfer: the press did not get hot enough, or stay on long enough, to melt the adhesive fully into the fibers. The usual culprits are a press running cooler than its dial (Cricut and other auto presses often run 10-20°F cool), peeling while still warm instead of cool, or skipping the final re-press. Verify your real platen temperature, give it the full time, use a cool peel, and always re-press.
Common mistakes to avoid
Skipping the pre-press. Moisture and wrinkles wreck adhesion. This is the most common reason a transfer fails.
Too little pressure. A light touch will not bond the design. You want firm, even contact.
Pressing polyester too hot. Above about 280°F / 138°C, a polyester garment's own dye can migrate into the white layer and tint your design pink or grey. Drop the heat and test on a scrap.
Peeling too soon. Let DTF Printer transfers cool fully before peeling, or the design can lift.
Skipping the re-press. The final press is what makes the transfer wash-durable. Always do it.
Not testing first. Fabrics, colors, and presses all vary. Press one scrap of the same material before a full run.
Washing too soon. Give it 24-48 hours before the first wash.
Ignoring your film's instructions. Settings and peel style vary by brand, so follow what came with your transfer.
Still seeing problems like cracking, fading, or a transfer that will not stick? Our DTF troubleshooting guide has the fix for every common issue.
★★★★★
Fabulous Products and Customer Service
The gang sheets are vivid and very high quality. The customer service is fast and personal. Highly recommend using this service for your creative needs. Can't speak highly enough of Wendy and DTFPrinter!
Deanne Clinton · May 22, 2025
★★★★★
UV DTF Bundle
I ordered the UV DTF Bundle and I love the images! The variety is perfect! The price for the quality and quantity are great!
The colors are so vibrant! I can't wait to design with them🤗
Sedira Sanders · Jul 3, 2025
★★★★★
DTF Printer has been amazing to work with
DTF Printer has been amazing to work with! From reviewing my work to getting back high quality transfers in with a very quick turn around. Also, Wendy has responded to my several questions as I figure out how to work with my students to create Graphic T's.
Order with confidence. No minimum order (order 1 or 1,000+). Printed in the USA at our Kentucky facility. Every file is checked by our team before printing, with free US shipping on orders over $75.
About 320°F (160°C) on cotton and a cooler 280°F (138°C) on polyester. Pre-press the blank for 3-5 seconds, then apply with medium-firm pressure for 15 seconds on cotton (10-12 seconds on polyester) and re-press. Settings vary by film, so always follow the instructions supplied with your specific transfer.
What are the best heat press settings for DTF transfers?
Cotton: 320°F / 160°C. Polyester: 280°F / 138°C. The full DTF heat press settings are: pre-press 3-5 seconds, then press for 15 seconds on cotton (10-12 seconds on polyester) at medium-firm pressure, cool peel, and a 5-10 second re-press through parchment. Use 320°F (160°C) on 100% cotton and the cooler 280°F (138°C) on 100% polyester, with blends in between. These are starting points, so always follow your film's instructions and test a scrap first. Full chart: DTF heat press settings guide.
Can you press DTF transfers onto polyester?
Yes, just lower the heat to about 280°F (138°C). Too much heat pulls the garment's own dye into the white layer of your design and tints it, especially on bright colors. Press for a shorter 10-12 seconds, use a cool peel, and test on a scrap first, since dye migration can appear hours after pressing.
Can you put DTF on any fabric, and is it the same settings for all?
Most fabrics, yes, but not one setting for all. DTF works on cotton, polyester, blends, and more thanks to the white layer under the design. Cotton presses hottest at about 320°F (160°C), polyester needs a cooler 280°F (138°C) to avoid scorching and dye migration, and stretch or coated fabrics lower still. Use the fabric table above as your starting point and test a scrap first, especially on synthetics or anything with a water-repellent coating.
Should I pre-wash blanks before pressing DTF?
It is optional. Pre-washing removes factory residue and pre-shrinks the garment, which can help adhesion and prevent puckering later, but many people press straight from the bag with great results. If you do pre-wash, skip the fabric softener (it leaves a coating that resists bonding) and make sure the garment is completely dry. Either way, the pre-press step drives off the moisture that matters most.
Do you peel DTF transfers hot or cold?
DTF Printer transfers are a cool peel. Let the transfer cool for about a minute, until cool to the touch, then peel the film away. Some other brands' films are hot peel and come off immediately while warm, so check the instructions that came with your transfer.
Can you apply DTF transfers with an iron?
Yes. Use the high cotton setting with no steam (a medium setting for polyester), press firmly in sections for 30-45 seconds with no sliding, let it cool, peel, then re-press through parchment. A heat press gives more even results, but yes, you can apply DTF with an iron at home.
Do you need a heat press to apply DTF transfers?
No, but it helps. A heat press gives the most even heat and pressure, so it is the most reliable option, especially for larger runs. A household iron or a Cricut EasyPress also work for applying DTF at home. What matters is steady heat, firm pressure, and the full press time, so if you use an iron, press in sections and lean your weight in.
What DTF heat press settings should I use with a Cricut or EasyPress?
Use the same temperatures, with a little more time. Set a Cricut EasyPress (or similar) to about 320°F (160°C) for cotton or 280°F (138°C) for polyester. Because these presses are smaller and apply less force, press firmly for a little longer, around 15-20 seconds per area, move to cover the whole design, let it cool, peel, then re-press through parchment or butcher paper. Auto presses like the Cricut often run 10-20°F cooler than the display, so verify the real temperature with an infrared thermometer or set it a touch higher. Under-heating is a common cause of cracking after washing.
How long before you can wash a DTF shirt?
Wait 24-48 hours. Then wash inside-out in cold water on a gentle cycle and hang or tumble dry low. Applied correctly, DTF transfers last 50+ washes.
How should I wash and care for a DTF garment?
Wash inside-out in cold water on a gentle cycle. Use a mild detergent, skip the bleach and fabric softener, and either hang dry or tumble dry on low. Do not iron directly on the design; turn the garment inside-out or cover it with parchment. Wait 24-48 hours after pressing before that first wash. Cared for this way, DTF transfers last 50+ washes.
Why is my DTF transfer peeling off?
Usually one of four things. Skipping the pre-press, not enough pressure, peeling before it cooled, or skipping the final re-press. The re-press is what locks the design in and makes it wash-durable. Our DTF troubleshooting guide covers it in more detail.
Do I need a special printer to apply DTF transfers?
No. Your transfers arrive printed and ready to press. You only need a heat press or a household iron to apply them, no cutting machine, weeding, or layering required.
What resolution should my artwork be for DTF printing?
A transparent PNG at 300 DPI, at the size it will actually print. Size your canvas to how big the design will really be (a large adult front or back print is often about 10-12 inches / 25-30 cm wide), then build it at that size so it stays a true 300 DPI instead of a small image stretched up. In Canva, set the canvas to those real dimensions and download as a PNG with a transparent background. We also accept JPEG and PDF, and our team checks every file before printing.
Can you use real photos in a DTF design?
Yes. DTF prints full color, including photographs and detailed gradients, so a photo works well as long as the file is sharp. Supply it as a high-resolution image (aim for 300 DPI at the size it will print) so it does not look soft or pixelated. Low-resolution images saved from social media or the web often print blurry, so start from the original, highest-quality version.
Does DTF printing work on plastic or other hard surfaces?
Not regular DTF, use UV DTF instead. The heat-applied transfers in this guide are made for fabric like cotton, polyester and blends. For hard, non-porous surfaces such as plastic, glass, metal, wood or ceramic (think cassette labels, tumblers, or signs), UV DTF is what you want: a cold peel-and-stick decal that needs no heat press.

