Can You Use an Inkjet Printer for DTF?
Can you really use an inkjet printer for DTF?
Short answer: yes. An ordinary inkjet printer can make DTF-style transfers if you add two things a normal home setup is missing: DTF transfer film and hot-melt adhesive powder. You print the design onto the film, coat the wet ink with powder, melt the powder with heat, then press the transfer onto the garment. It is a hack rather than a true DTF printer, but on 100% cotton it genuinely works.
The honest catch, covered in full below, is durability. Inkjet ink was never designed for this, so the prints fade in the wash faster than professional DTF. Used on the right projects, though, it is a brilliant low-cost way to try DTF at home before investing in equipment.
What you need
The whole shopping list, and you may already own most of it:
- A 100% cotton blank. Cotton is what makes this work. A tote bag is a very forgiving first project; t-shirts are possible but harder to release cleanly, and they get washed far more often.
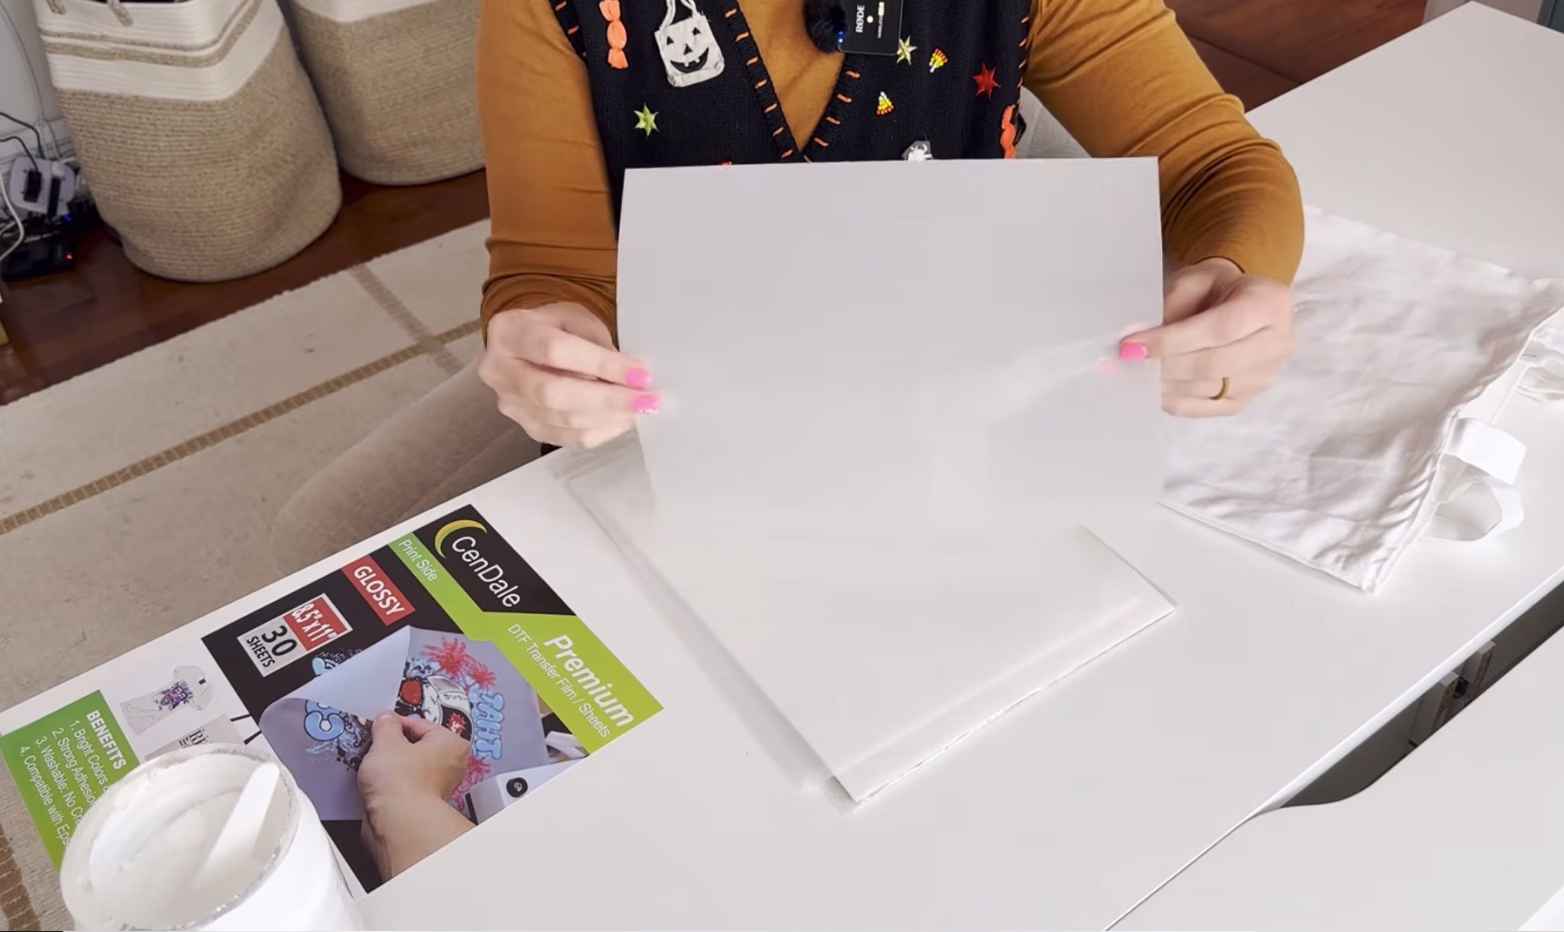
- DTF transfer film. Not all PET film is the same, so buy film made for DTF. Each sheet has a matte side and a glossy side, and you print on the matte side.
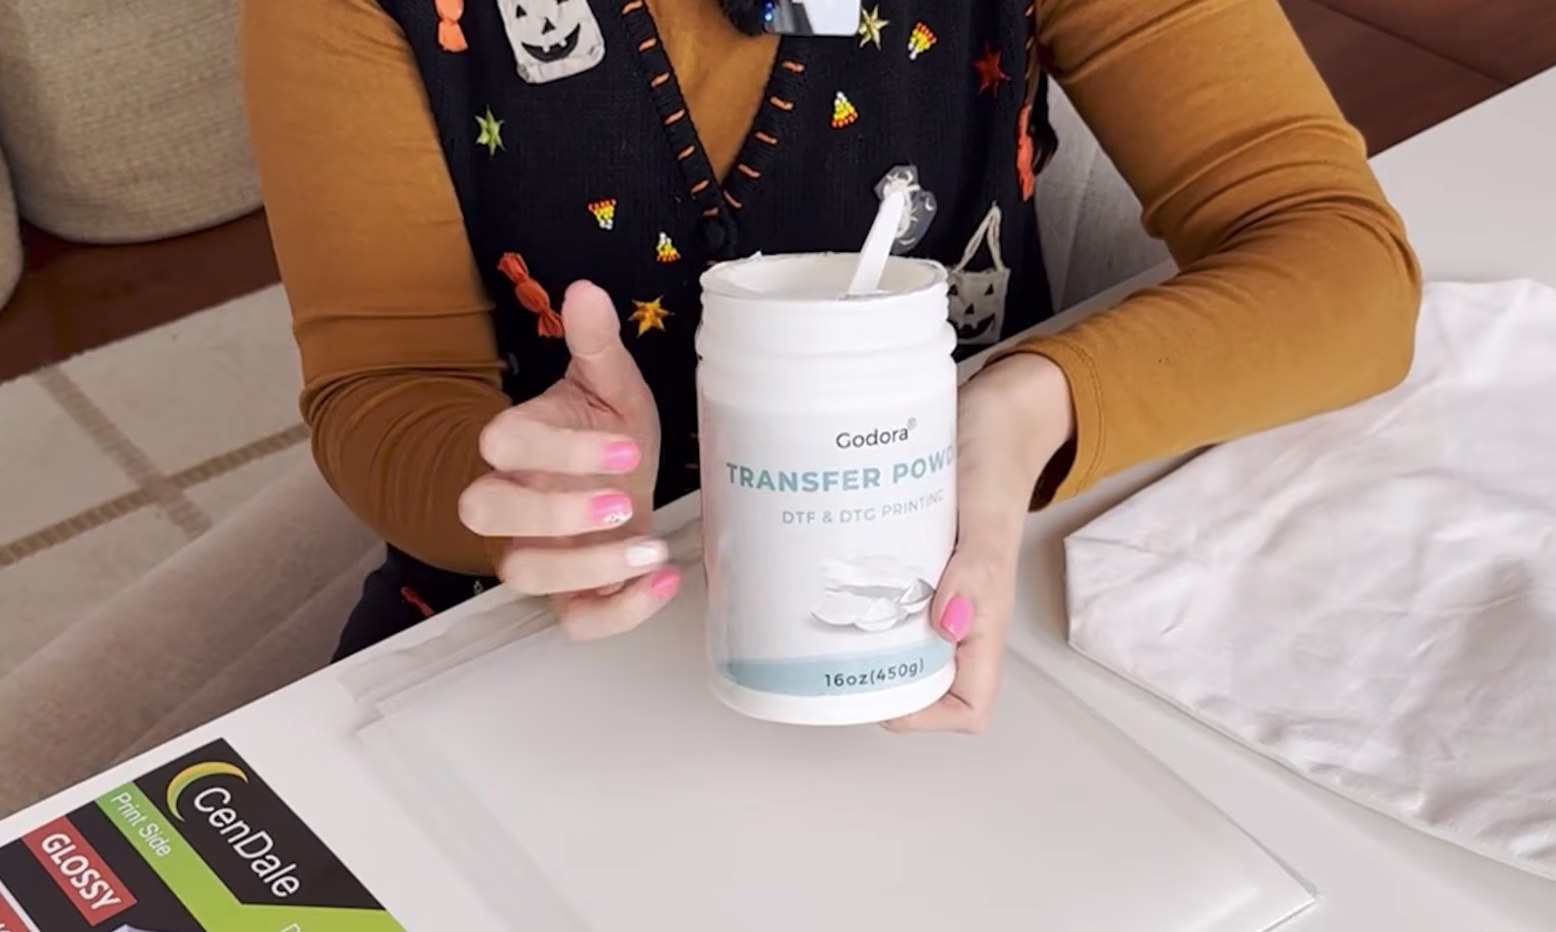
- Hot-melt adhesive (DTF) powder. This is the layer that bonds the ink to the fabric. Always work in a well ventilated area.
- An inkjet printer and a heat press (a handheld plate press works if you can hold firm, even pressure).
- Parchment paper or a protective cover for the final press.
How to make an inkjet DTF transfer, step by step
Work somewhere bright, keep your powder within reach, and lay down a sheet of paper to catch the excess so you can pour it back into the jar. The whole job takes about ten minutes.
1. Set up and mirror the design
Open your design and size it to fill as much of the 8.5 x 11 inch film as you can. Then mirror it by flipping horizontally. DTF prints face down on the film, so an un-mirrored design presses onto the garment backwards.
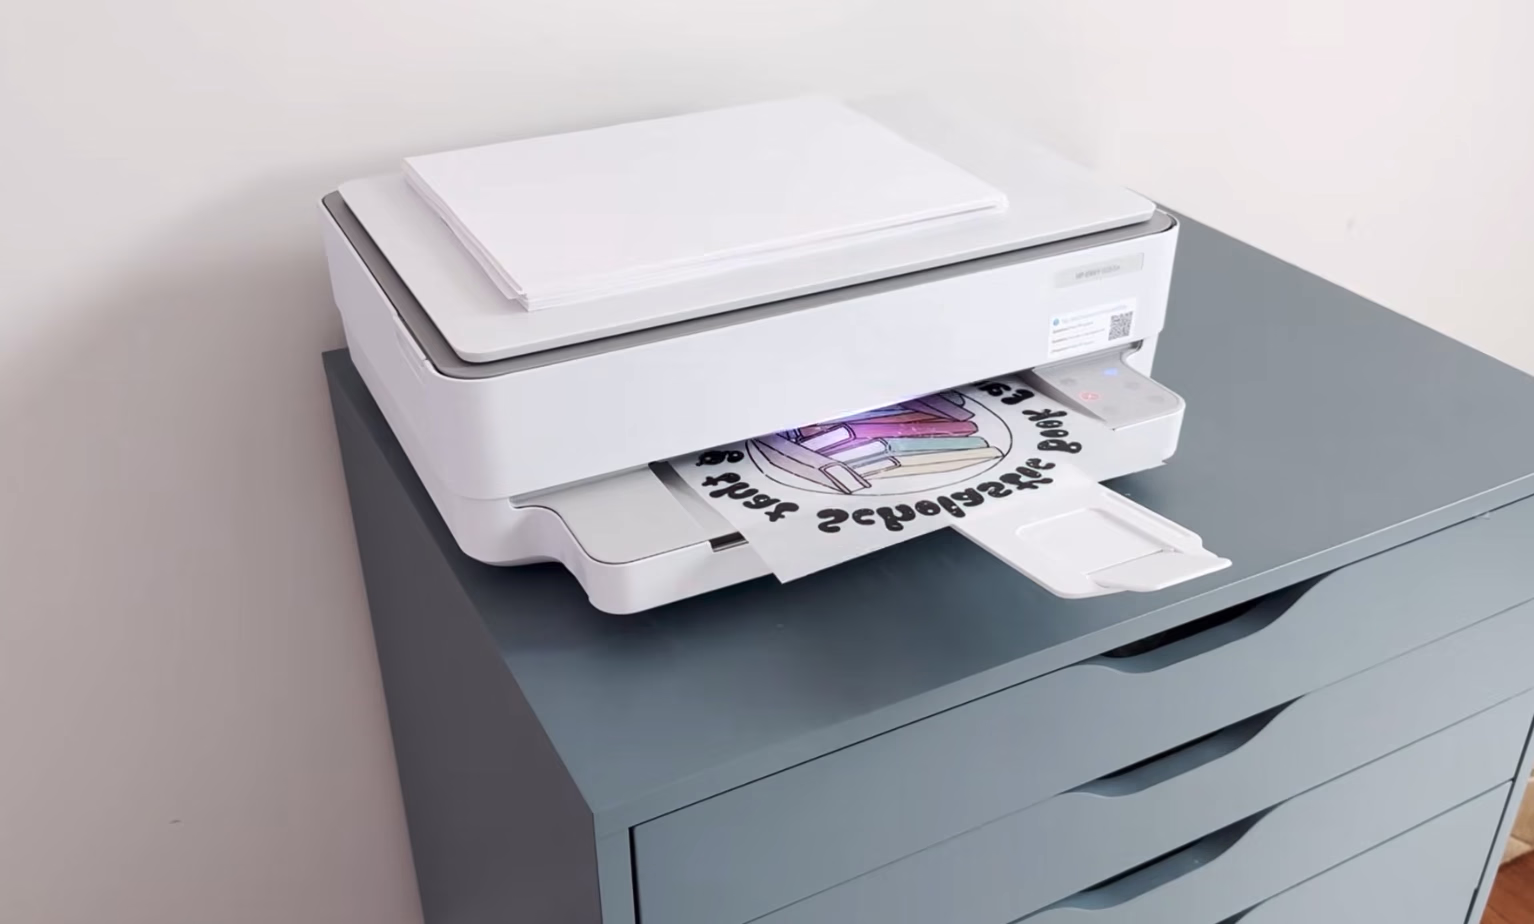
2. Load the film and print on the matte side
Inkjet rollers struggle to grab a single thin sheet, so stack a good amount of plain paper under the film and keep the film loaded high in the tray. Leave the paper type on Auto: the glossy setting sounds like it should help the rollers grip, but it gives a worse print. Feed the film so it prints on the matte side, and print in full color.
3. Powder the wet ink
Move quickly while the ink is wet. Pour one even coat of adhesive powder over the whole design, lift the sheet and let it run across every printed area, then tap the excess onto your paper and save it. You want a dry, crystalline finish with no shiny wet ink showing.
4. Preheat the transfer
Heat the bottom plate of your press, lay the transfer on it powder side up, and hover the press just above it for about 30 seconds. You are gently melting the powder to activate it, not pressing it yet.
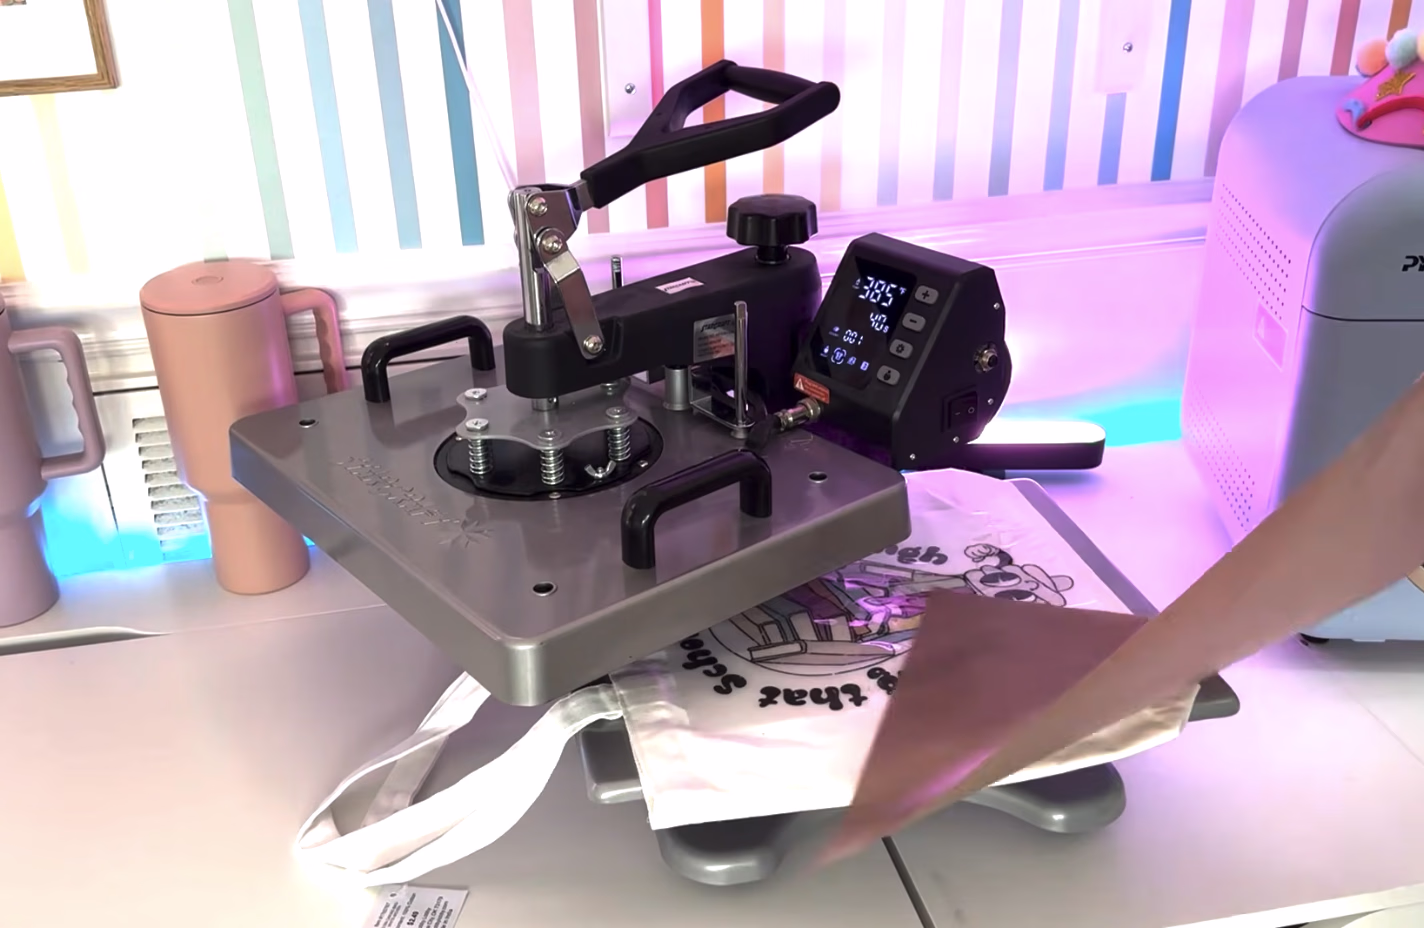
5. Pre-press, then press the blank
Pre-press the cotton blank for about 40 seconds to drive out moisture. Position the transfer, lay parchment or a protective cover on top, and press at 385F (196C) for 40 seconds with firm, even pressure across the whole design.
6. Cool peel
This is a cool peel. Wait until the sheet is fully cool, then peel slowly and low to the surface. Peeling while it is still warm is the fastest way to pull the design off with the film.
Two popular hacks are worth skipping. A second powder coat after preheating, and a second press on the garment, both gave worse results in testing, not better. One coat and one press at 385F for 40 seconds is the sweet spot.

The settings that actually work
The short reference, all of it from repeated testing rather than guesswork:
| Setting | Use |
|---|---|
| Film | DTF transfer film, printed on the matte side |
| Printer paper type | Auto, not glossy |
| Powder | One even coat on wet ink |
| Preheat | Hover the press over the powder for about 30 seconds |
| Press | 385F (196C) for 40 seconds, firm even pressure, protective cover |
| Peel | Cool peel, slow and low |
| Best blanks | 100% cotton, low-wash items like totes |
Will inkjet DTF survive the wash? The honest answer
This is the part that decides what you should put these on. Inkjet ink is not built for garment wear, so inkjet DTF prints fade in the wash. In testing, the first wash takes the biggest toll: black holds up impressively, while some colors shift or lighten. The print does not crack off, it gradually loses vibrancy.
So choose projects that are not washed often. Tote bags, decorative towels, pillow covers and zip bags are ideal. A t-shirt you wash weekly is the worst case, and selling inkjet-hack shirts is not something we would recommend, because the durability simply is not there.
When to order professional DTF instead
The hack is great for trying DTF and for low-wash one-offs. The moment you need prints that hold up to real wear, or that you can sell with confidence, the maths change. A professional DTF transfer is full color, presses onto cotton, polyester and blends, and is rated for 50+ washes without cracking or fading when applied correctly.
There is no printer to buy or maintain, no powder and no curing, and no minimum order. Every file is human-checked before printing, transfers are printed in the USA at our Kentucky facility and ship in 1-2 business days, with free US shipping over $75. Price your exact design sizes in the DTF price calculator, pack a full order onto one gang sheet, and if you are weighing the DIY route, our guides on how DTF transfers are made and the best DTF printer for small business cover the trade-offs in full.
