UV DTF Cup Wraps: Sizes, Application and Care
What are UV DTF cup wraps?
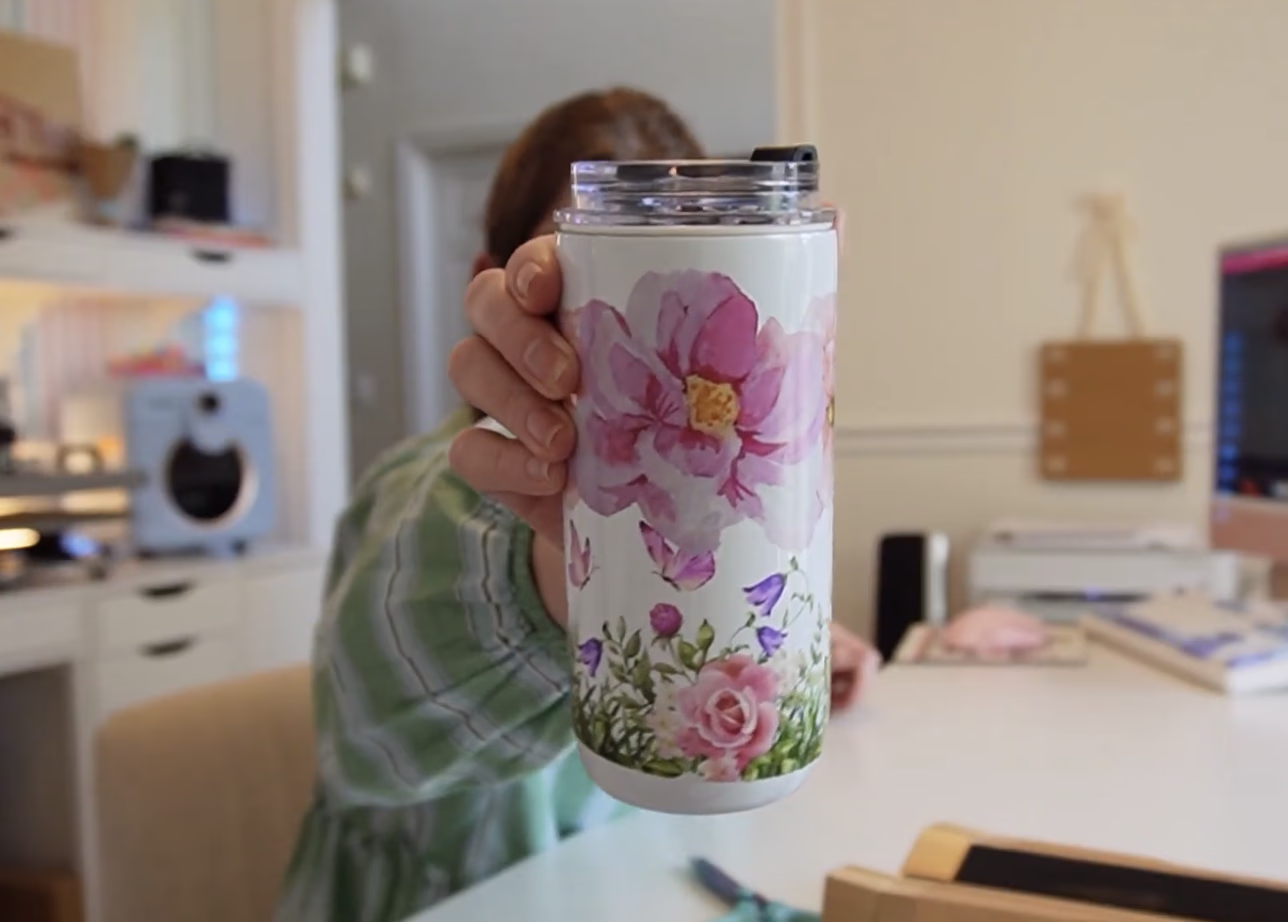
A UV DTF cup wrap is a full color design printed with UV-cured ink, sealed under a clear laminate, and sized to wrap most of the way around a cup. It applies with no heat press, no cutting and no weeding: you peel, wrap, rub down and remove the top film. Once applied, the wrap is permanent and waterproof.
Wraps work on the cups crafters actually decorate: glass cans, ceramic mugs and stainless steel tumblers, plus hard plastic cold cups. They are the most popular format in the wider UV DTF family; for the technology itself see our intro to UV DTF transfers, and for smaller decals see the UV DTF stickers guide. One thing they are not for is fabric, which we cover in can you use UV DTF on shirts.
Cup wrap size chart: what size to order
Wrap sizes are driven by two numbers: the cup's circumference (width of the wrap) and the straight part of its height. These are the typical starting points crafters use:
| Cup type | Typical wrap size (W x H) | Notes |
|---|---|---|
| 16 oz glass can | Around 9.5 x 4.3 in | The most common wrap size |
| 20 oz skinny straight tumbler | Around 9.3 x 8.2 in | Straight sides take a full wrap well |
| 30 oz skinny straight tumbler | Around 9.4 x 9.5 in | Check the straight section of the height |
| 40 oz tapered tumbler | Front decal sized to the flat area | Tapered sides keep a straight wrap from sitting flat all the way around |
| 11 oz ceramic mug | Around 8 x 3.5 in | Leave clearance at the handle |
Always measure your cup before ordering. Brands and batches vary, so treat the chart as a starting point. Wrap a strip of paper around the cup and mark where it meets for circumference, then subtract about half an inch so the ends do not overlap. For height, measure only the straight section between any curves or tapers.
How to apply a UV DTF cup wrap, step by step
The whole job takes about ten minutes and needs no machine. Work somewhere bright so you can spot air bubbles as you go.
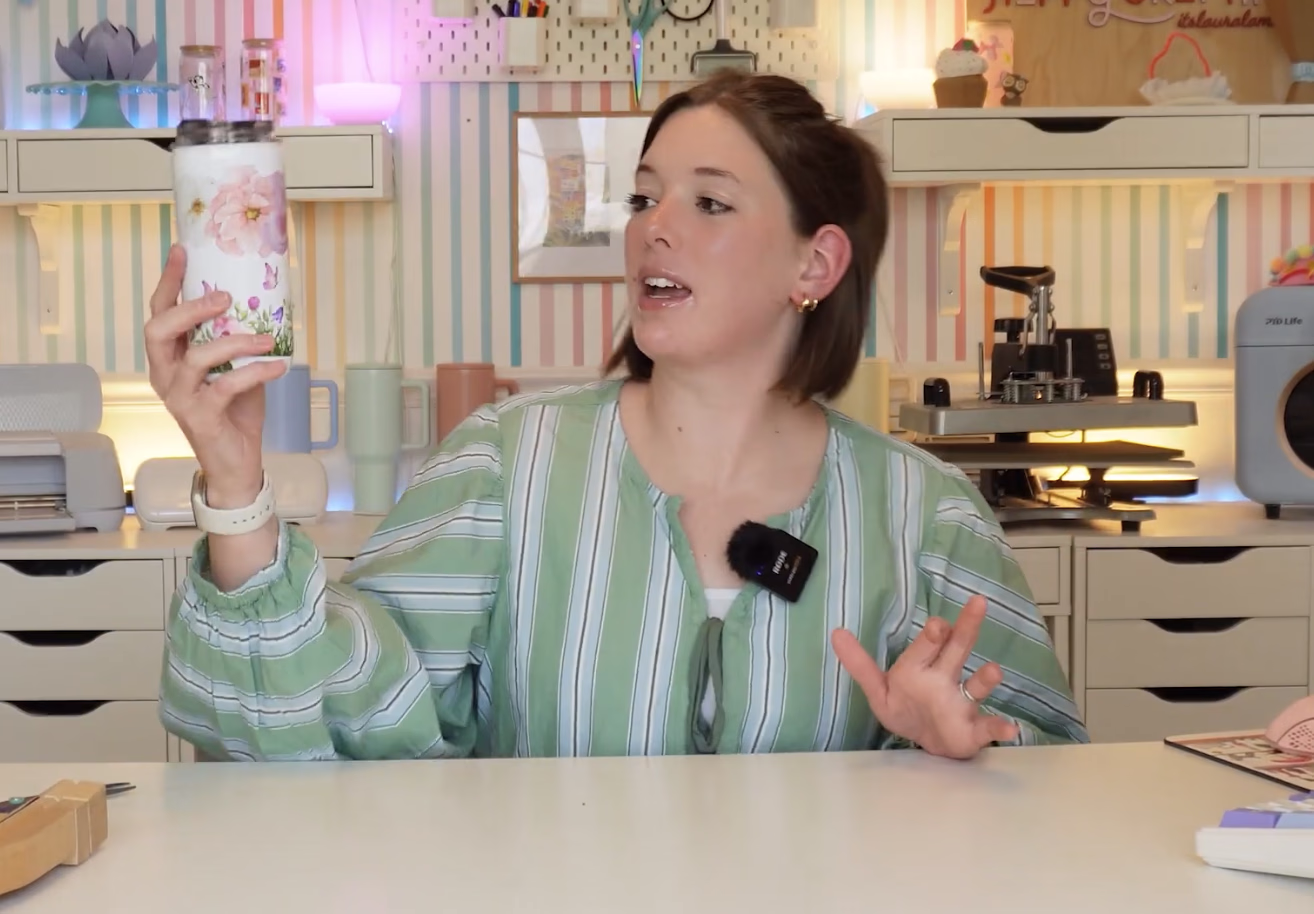
Prefer to watch it done first? This short walkthrough shows the full peel, wrap and burnish, then the step-by-step is below.
Watch: applying a UV DTF cup wrap from start to finish
1. Clean the cup
Wipe the entire area the wrap will cover with rubbing alcohol on a lint-free cloth, then let it dry fully. Fingerprints and skin oils are the number one cause of edges lifting later, so handle the cup by the rim and base from here on.
2. Dry-fit the wrap
With the backing paper still on, hold the wrap against the cup. Check that the height clears any curves and that the ends will not overlap. Decide where the seam will sit, usually at the back of the cup or in line with the handle, and note where your starting edge lands.
3. Peel the backing
Peel the paper backing away from the wrap. The design stays on the clear top film with its adhesive side exposed. Hold the wrap by the edges and keep the adhesive away from dust, pet hair and your fingers.
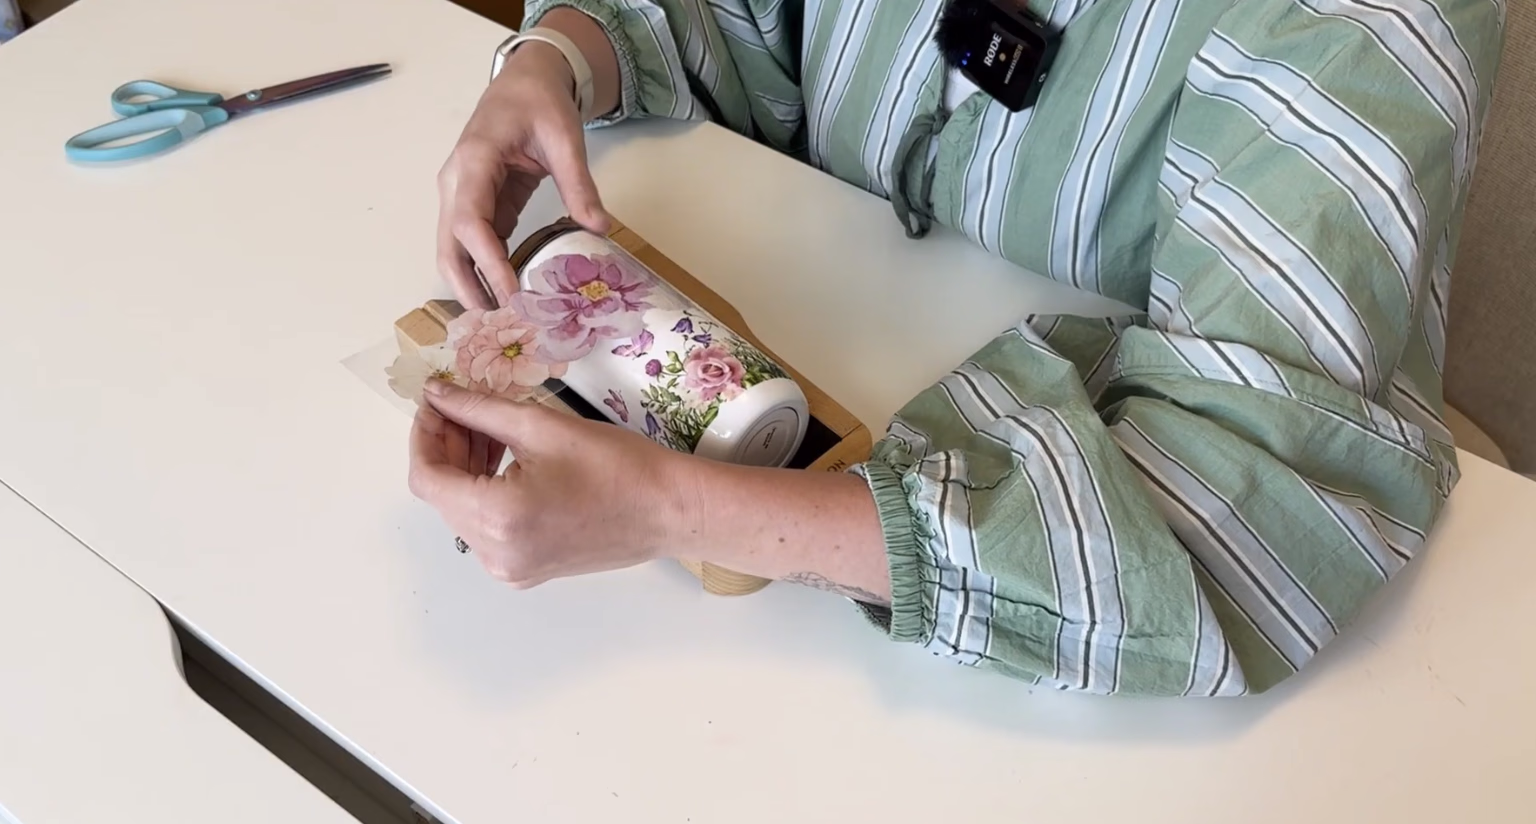
4. Wrap and smooth from the seam
Stick the starting edge down vertically, checking it is straight, because every degree of tilt grows as you go around. Then roll the wrap around the cup a little at a time, smoothing from the anchored edge outward so air is pushed ahead of the film instead of trapped under it. Never lay the whole wrap on at once.
5. Rub down firmly, everywhere
Go over the entire design with a squeegee or an old gift card, pressing firmly. Hit every part of the artwork at least twice and give the edges and the seam extra passes. This step decides how well the wrap bonds, so do not rush it.
6. Peel the top film slowly
Starting at a corner, pull the clear top film back on itself slowly at a sharp angle. Watch the design as you go: if any part starts to lift with the film, stop, lay the film back down, rub that spot firmly and try again. When the film is off, give the whole wrap one final rub with the cloth.
That is the entire process. For the full photo walkthrough that covers every UV DTF format, see how to apply UV DTF transfers.
Is UV DTF dishwasher safe? The honest answer
UV DTF is best hand washed. An applied wrap is permanent and waterproof, so daily use, condensation and sink washing are no problem. A dishwasher is a different environment: long cycles of hot water, harsh detergent and spray pressure are hard on any decal, and repeated cycles will age a wrap far faster than hand washing ever will.
Our care advice for wrapped cups is simple: wash by hand with mild soap and a soft sponge, skip the dishwasher, and avoid soaking for long periods or scrubbing the design with anything abrasive. Treat a wrapped cup like a hand-painted one and it will keep looking freshly made.
Common cup wrap mistakes (and how to avoid them)
- Bubbles: caused by laying the whole wrap down at once. Anchor one edge and smooth as you roll. If a bubble survives, press it toward the nearest edge with the squeegee before peeling the film.
- A crooked seam: caused by a tilted starting edge. Check the first inch is vertical before committing to the rest; a spirit-level glance at the can's seam line helps.
- A wrap that overlaps or falls short: caused by skipping the measurement. Measure circumference with a paper strip and leave a small gap between the ends; UV DTF should not be layered over itself.
- Edges lifting after a day: usually skin oils on the cup or a rushed rub-down. Clean with alcohol, burnish hard, and re-rub any spot that resists the film peel.
- Fading in the dishwasher: not a defect, just the wrong washing method. Hand wash, every time.
Ordering custom wraps and gang sheets
You can order wraps exactly the size your cups need: build a UV DTF gang sheet in our gang sheet builder and pack it with wraps, decals and smaller accents in any mix of sizes. There is no minimum order, every file is human-checked before printing, and transfers are printed in the USA and ship in 1-2 business days, with free US shipping over $75.
Stuck for what to put on the cups? Browse 15 trending UV DTF projects you can make and sell for ideas that pair well with wrap blanks you already own.