How to Apply UV DTF Stickers, Wraps and Decals
Tired of layering vinyl on cups? UV DTF is your no-weeding, peel-and-stick solution for tumblers, mugs, glasses and almost any hard surface. This guide walks through the full application, from prepping the surface to the final cure, so your first sticker goes on bubble-free and stays put.
Prefer to watch it done first? This short walkthrough shows the full peel, place, and burnish, then the step-by-step is below.
Watch: applying a UV DTF decal from start to finish
What you need
- Your UV DTF transfer, sticker or wrap (order DTF and UV DTF transfers from the same page).
- Your project surface: tumbler, mug, glass, or any smooth hard surface.
- A clean cloth, plus rubbing alcohol for glass or metal (optional).
- Sharp scissors and a squeegee or credit card.
How to apply UV DTF stickers in 5 steps
Step 1: Clean the surface
A clean, smooth surface is the secret to a permanent, long-lasting bond. Wipe your blank (tumbler, mug, glass, etc.) free of dust, fingerprints and oils; on glass or metal, a quick pass with rubbing alcohol works wonders. Let it dry completely, and if your design is on a larger gang sheet, cut it out now with scissors, leaving a small border of clear film.
Step 2: Peel the paper backing
Carefully peel the solid white paper backing away from the clear film; your design will stay on the clear film, adhesive side exposed. Handle it by the edges from here on so the adhesive stays clean.
Step 3: Position the design
Take your time lining the decal up: the adhesive is strong and the design is not made to be repositioned once it is down. For cup wraps, line the bottom edge of the wrap parallel to the base of the cup before letting the middle touch.
Step 4: Rub it down firmly
Lay the design down from the center outwards and rub firmly over every part of it with a squeegee or a credit card. This is the step that decides a bubble-free, professional finish, so pay extra attention to small details and edges.
Step 5: Peel the film away slowly
Find a corner and peel the clear carrier film away slowly, keeping it at a sharp, low angle. If any part of the design lifts with the film, lay it back down, rub it again, and continue. Finish with a firm rub-down by hand, then let the piece cure for 24 hours before heavy use or washing for maximum adhesive strength.
How to apply UV DTF to glass
Glass is the easiest surface, with one extra rule: degrease it first. Wipe with rubbing alcohol, let it flash dry, then follow the five steps above. On curved glassware, work the squeegee in vertical strokes around the curve rather than across it, and burnish the edges twice. The same routine covers wine glasses, candle jars, and car windows (clean thoroughly and place carefully; the decal is not repositionable).
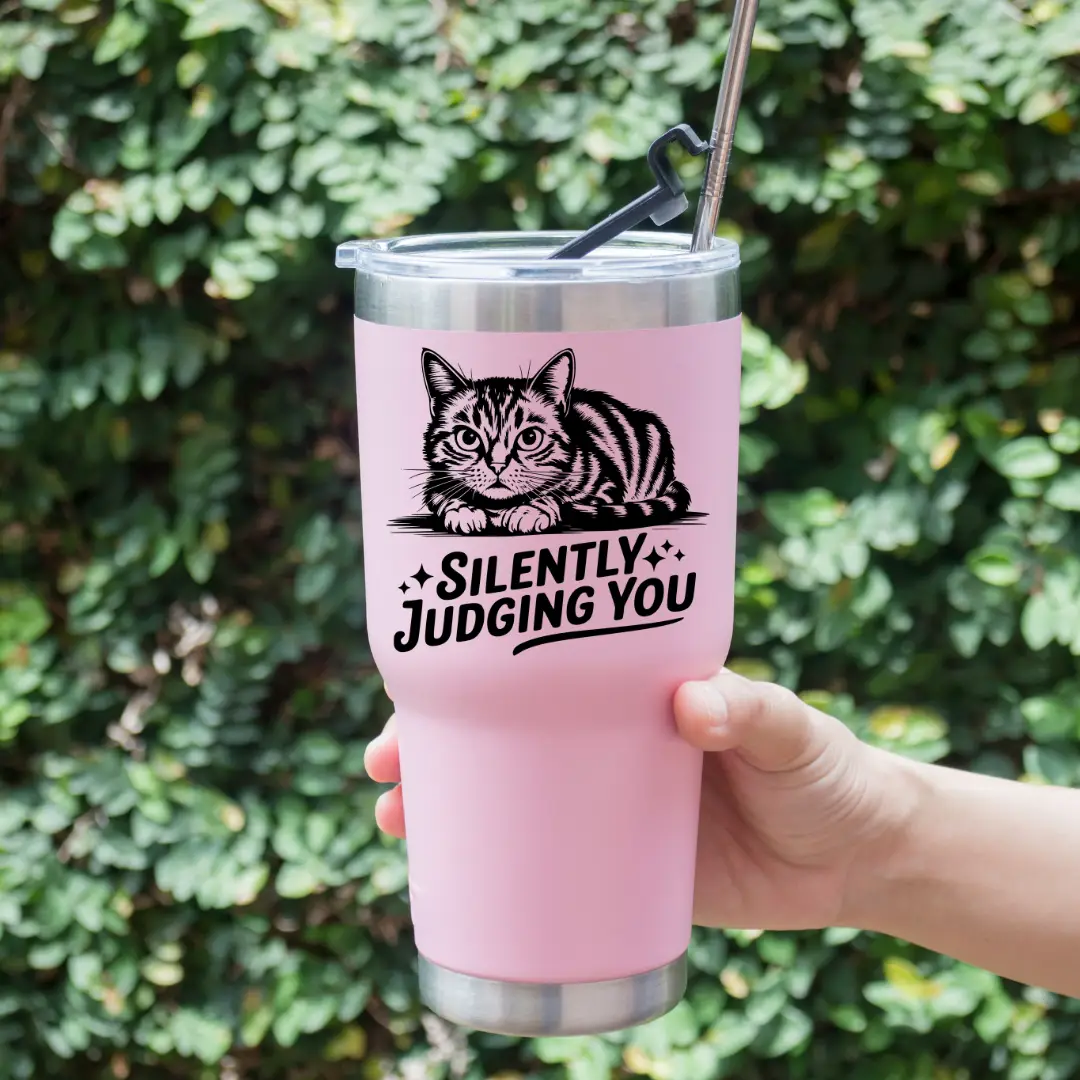
Applying cup wraps without bubbles
The quick version: line the wrap's bottom edge parallel to the base of the cup, tack down a center strip first, then squeegee outward from the center in halves so air escapes at the edges. Small bubbles burnish out with a fingernail through the film before you peel. For wrap sizing by tumbler style and long-term care, see the full UV DTF cup wraps guide.
Do you need a machine?
No. UV DTF applies cold, by hand: no heat press, no oven, no cutting machine, no weeding. A squeegee or an old credit card is the entire toolkit, which is what makes it the fastest route to professional-looking tumblers and giftables.
Common application mistakes
- Skipping the clean. Fingerprints and dust are the top cause of lifting edges. Wipe, alcohol, dry.
- Rushing the rub-down. Every part of the design needs firm squeegee contact before you peel.
- Peeling the film straight up. Keep it at a sharp, low angle; lay it back down and re-rub if the design lifts.
- Washing too soon. Give the adhesive 24 hours to cure before heavy use or washing.
- Using it on fabric. UV DTF is rigid; it will not survive a shirt. Use regular DTF transfers there.
Tips and tricks
- Surface compatibility. UV DTF works best on smooth, non-porous surfaces. Test on a small area first if unsure.
- Storage. Store unused UV DTF transfers in a cool, dry place away from direct sunlight to preserve adhesive quality.
- Care. Hand washing gives applied decals the longest life; wrap sizing and dishwasher questions are covered in the cup wraps guide.
