Custom Iron-On Transfers: The Modern DTF Guide
What are custom iron-on transfers?
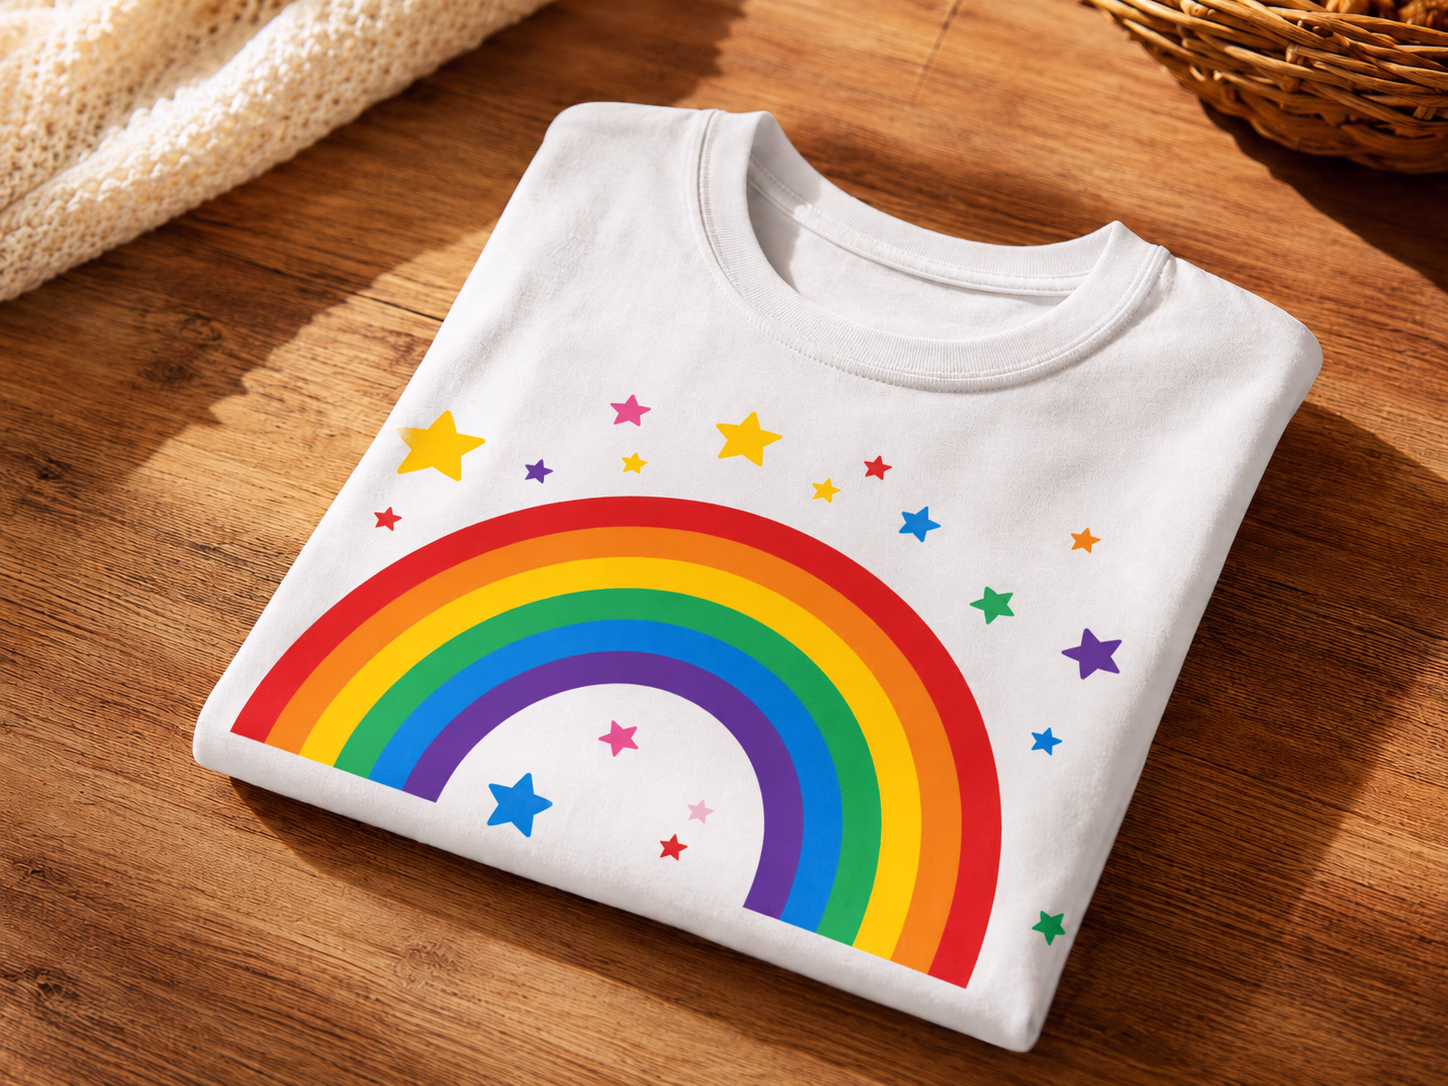
A custom iron-on transfer is your own design, printed or cut in reverse-ready form, that bonds to fabric when you apply heat and pressure. The phrase covers several technologies: inkjet transfer paper, heat transfer vinyl (HTV), screen print transfers and, the modern standard, DTF transfers.
DTF (direct to film) prints your design in full color onto film with a built-in white layer underneath, then coats it with a heat-activated adhesive. The result is an iron-on that arrives ready to press: no cutting, no weeding, no layering, and it works on any fabric and color, from black cotton to bright polyester. That is why most people searching for custom iron-ons today end up ordering DTF.
Old-school iron-ons vs modern DTF
If you last used iron-on transfers years ago, you probably remember stiff inkjet paper that cracked in the wash, or evenings spent weeding vinyl. Here is how the options compare today.
| Method | Colors | Cutting and weeding | Fabrics | Durability |
|---|---|---|---|---|
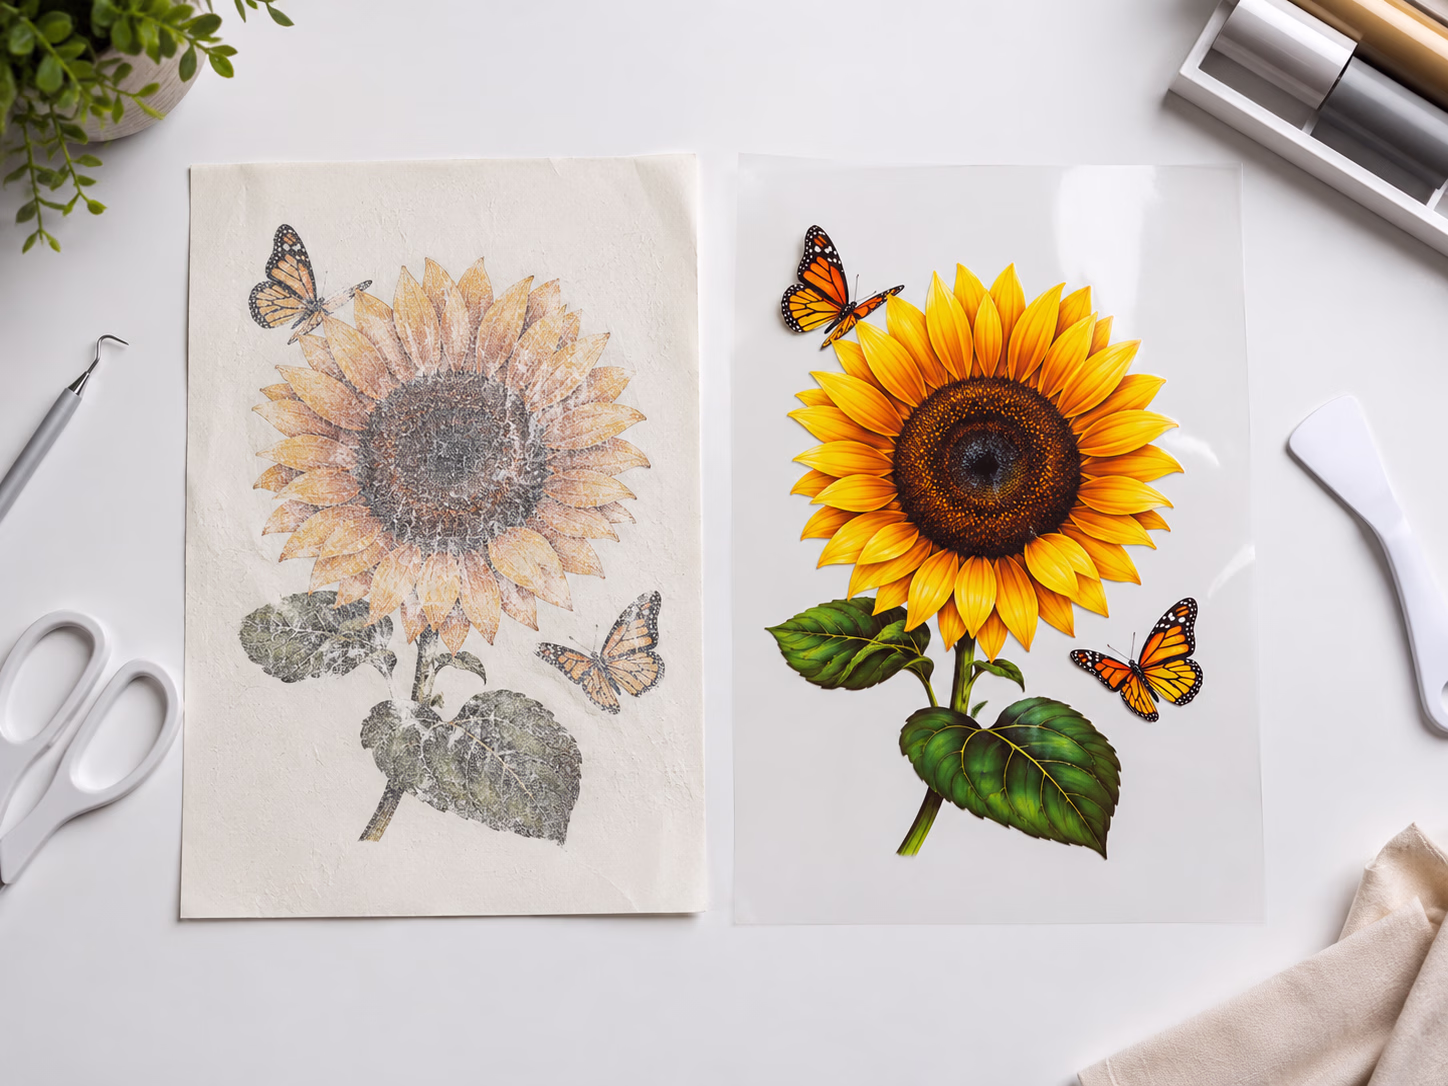
| Inkjet transfer paper | Full color, but dull on dark fabric | Trim around the design by hand | Best on light fabrics; dark-fabric paper feels stiff | Often cracks and fades within a few washes |
| Heat transfer vinyl (HTV) | One color per layer | Cut and weed every piece | Most fabrics | Durable, but multi-color layering adds bulk |
| Screen print transfers | Spot colors, one screen per color | None, but screens need setup | Most fabrics | Very durable; usually sold in quantity |
| DTF transfers | Full color, photos and gradients, built-in white layer | None, ready to press | Any fabric and color | 50+ washes without cracking when applied correctly |
That is the short version of why DTF has taken over the custom iron-on space: it keeps the convenience of an iron-on while fixing the cracking, fading and single-color limits of the older methods.
Where to get custom iron-on transfers made
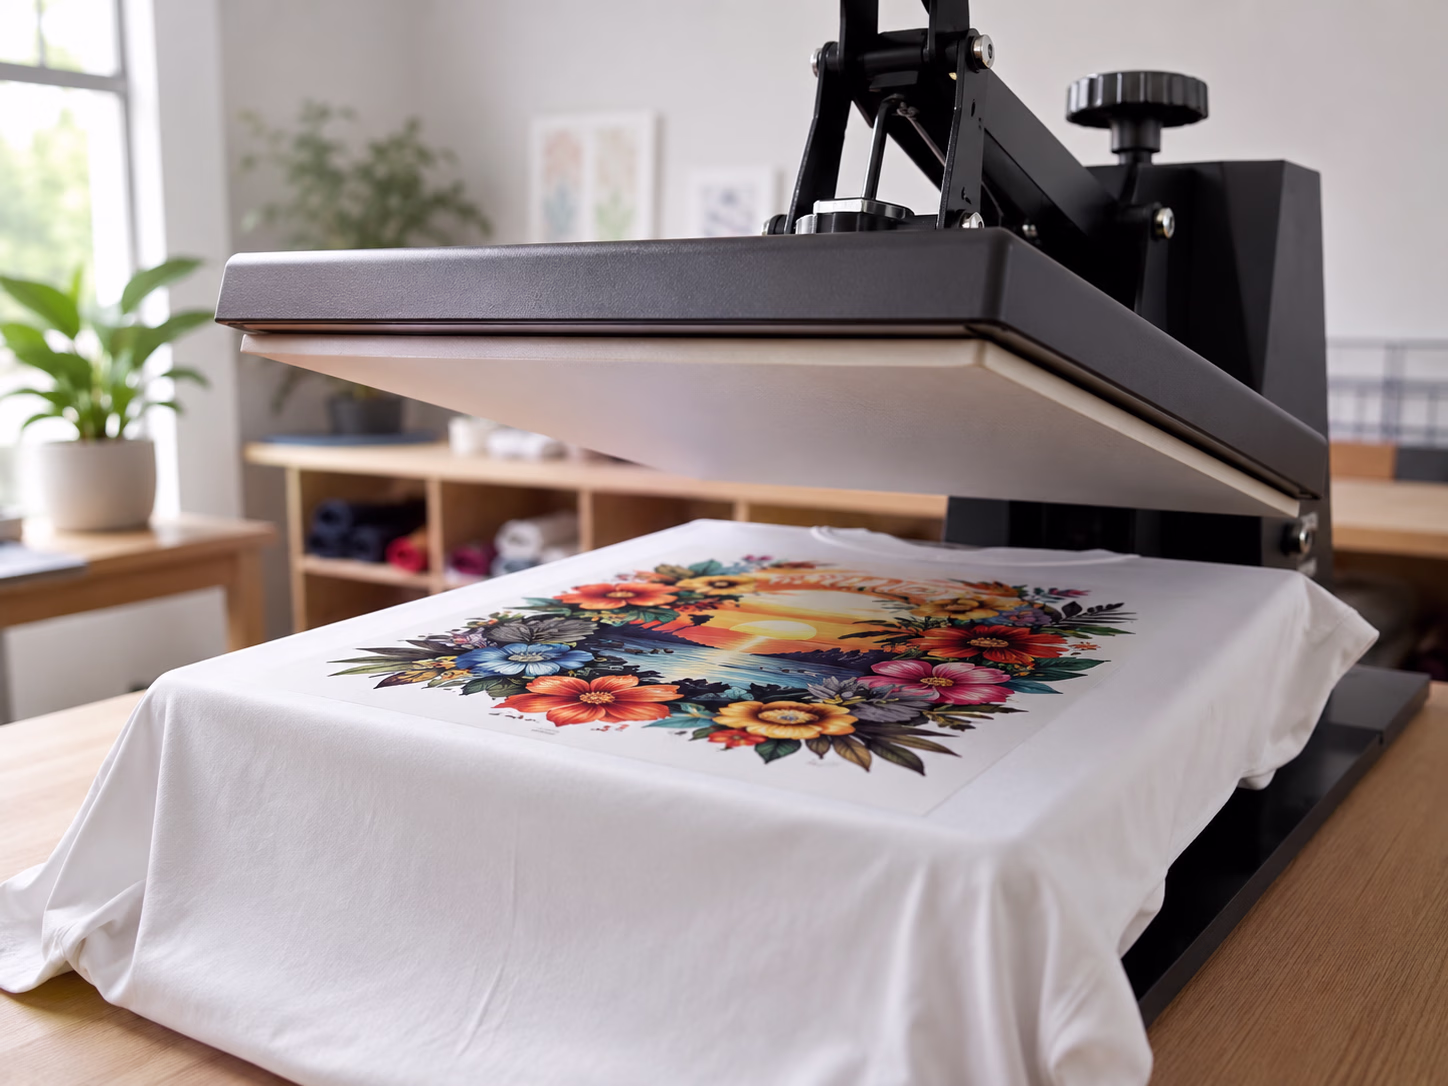
Getting custom iron-ons made is simpler than it sounds: upload your artwork, choose your sizes, and the printed transfers arrive ready to press. At DTF Printer every order is printed in our Kentucky, USA facility, every file is human-checked before printing, and orders ship in 1-2 business days with free US shipping over $75.
- No minimum order: a single transfer for one shirt is a normal order, not a special request.
- Any artwork: photos, gradients and fine detail print in full color with no extra cost per color.
- Gang sheets for bigger projects: pack multiple designs and sizes onto one sheet with our gang sheet builder to lower the cost per design.
Prefer to print your own at home? That is a different project with its own equipment list; our guide on how to make iron-on transfers walks through the DIY routes and where each one makes sense.
Can you use a home iron?
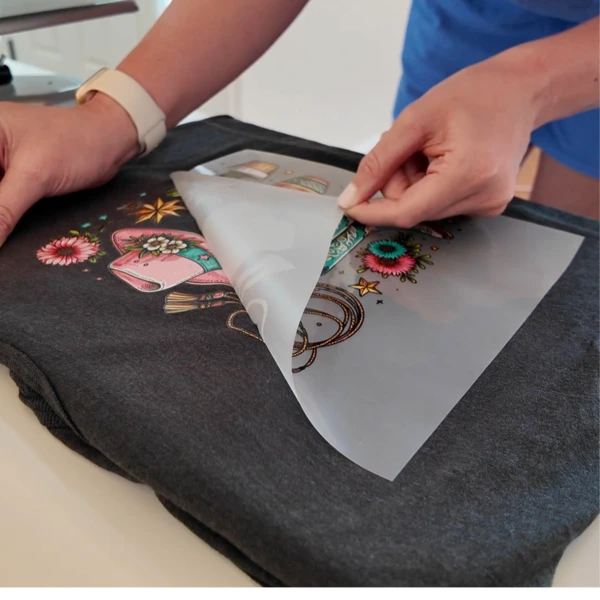
Yes. A household iron can apply a DTF transfer, which is part of why these are still called iron-ons. Use the highest cotton setting with steam off, and press firmly in sections for 30-45 seconds. The iron's weakness is pressure: it is easy to press unevenly, so small and medium designs are the safest bets.
For step-by-step instructions with an iron, a heat press or an EasyPress-style plate, see how to apply DTF transfers, and for the full temperature, time and pressure detail, see our Perfect Press settings guide. DTF Printer transfers are a cool peel, so let the film cool before peeling.
Sizing your iron-on transfer
Size is the difference between a shirt that looks shop-made and one that looks like a sticker. Typical placements: a left chest logo runs about 3-4 inches wide, a standard full front design about 10-12 inches, and sleeves or onesies smaller again. Measure the garment, not your screen, and remember adult and youth sizes need different transfer sizes for the same design.
Our DTF transfer size chart maps every common placement to a recommended size range, so you can order each design at the size it will actually be pressed.
Care and washing: making it last
Applied correctly, a modern DTF iron-on lasts 50+ washes without cracking or fading. Three habits protect it:
- Wait 24-48 hours before the first wash so the adhesive fully cures into the fabric.
- Wash inside-out in cold water to keep the printed surface away from friction and heat.
- Skip high-heat drying and never iron directly on the print. Hang dry or tumble low; if you must touch it up, iron the inside of the garment.
Those few minutes of care are what separate the modern iron-on from the cracked, peeling transfers of the inkjet-paper era.